How to Compress a Scanned PDF and Keep It Readable
Compress a scanned PDF the smart way: the scan settings that save the most space, what each compression level does to scans, and why OCR must come first.

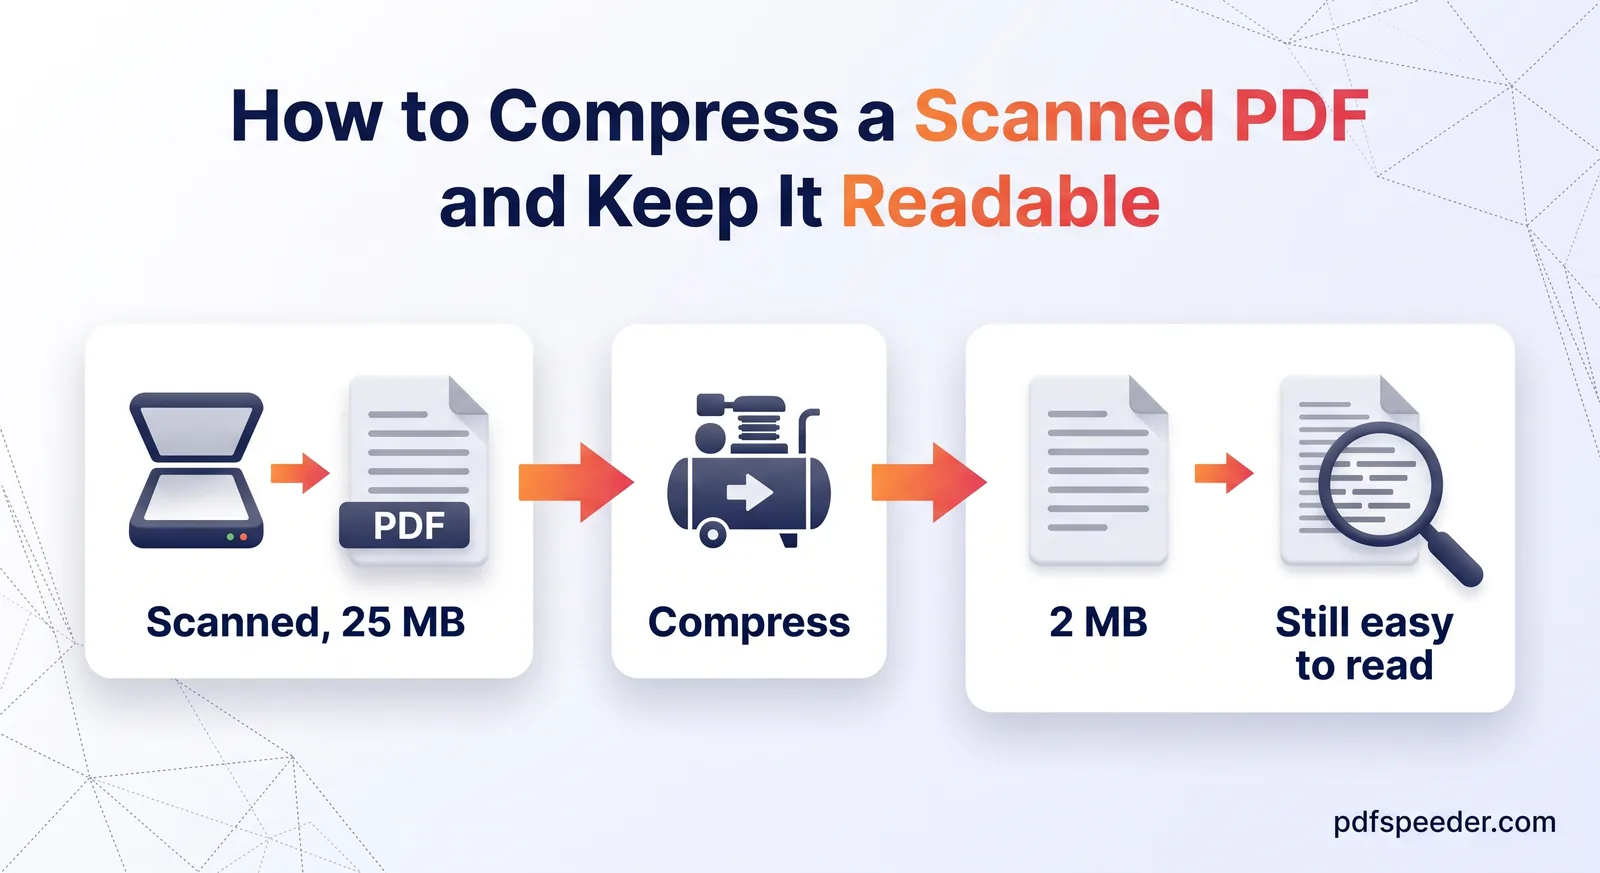
To compress a scanned PDF, run it through a compressor on the Balanced level, which brings 300 DPI scans down to about 100 DPI; in our test it cut a colour scan by about 90%, and the typed text stayed easy to read. You'll save even more at the source: scanning at 150 to 200 DPI, or in black and white for plain typed pages, makes files far smaller from the start. And if the scan needs to be searchable, run OCR before you compress, not after, or the file grows back.
On this page
Why scanned PDFs are so heavy
A plain scanned PDF holds no text at all. Each page is a photograph of paper, so its size depends on how many pixels the scanner captured and how they're stored. To see what each setting costs, a sample A4 form page was saved at three resolutions, in colour and grayscale as JPEG (the usual format for colour and grayscale scans) and in black and white as a 1-bit image with CCITT Group 4 compression, a standard method for black-and-white pages in PDFs:
| Scan resolution | A4 page in pixels | Colour | Grayscale | Black and white |
|---|---|---|---|---|
| 300 DPI | 2480 × 3508 (8.7 MP) | 969 KB | 895 KB | 38 KB |
| 200 DPI | 1654 × 2339 (3.9 MP) | 458 KB | 422 KB | 26 KB |
| 150 DPI | 1240 × 1754 (2.2 MP) | 281 KB | 259 KB | 19 KB |
Two things stand out. Resolution matters most: dropping from 300 to 150 DPI cut the colour page by 71%. And grayscale on its own saved only about 8% on this mostly black-and-white form, because JPEG already stores colour detail cheaply when there's little colour to store. True black and white is in a different league, at a few dozen kilobytes per page.
At 600 DPI, an A4 page holds 34.8 million pixels, four times as many as at 300 DPI. If your scanner defaults to 600 DPI in colour, that alone can explain a scanned PDF that's too big to send.
Scan smarter: DPI and colour settings that save space
The cheapest megabyte is the one you never scan. If you still have the paper, these settings give you a scan-to-PDF small file size without hurting readability.
The best DPI for scanning documents
- 150 DPI is plenty for typed text that will be read on screen or uploaded to a portal.
- 200 DPI suits forms with small print, stamps or fine signatures.
- 300 DPI is the one to choose if you'll run OCR afterwards. The Tesseract OCR engine's documentation says it works best on images of at least 300 DPI, so scan high, run OCR, then compress, as shown further down.
Pick the colour mode by what's on the page
- Black and white (sometimes labelled "text" or "line art") for plain typed pages. It gives the smallest black and white scan PDF by far, but it can wipe out a light blue or pink stamp and break faint pencil or pale ink into dots.
- Grayscale for pages with seals, signatures in coloured ink or photos. Those details survive as shades of grey.
- Colour only when the recipient asks for a colour scan, or colour carries meaning, such as a coloured stamp on a certificate.
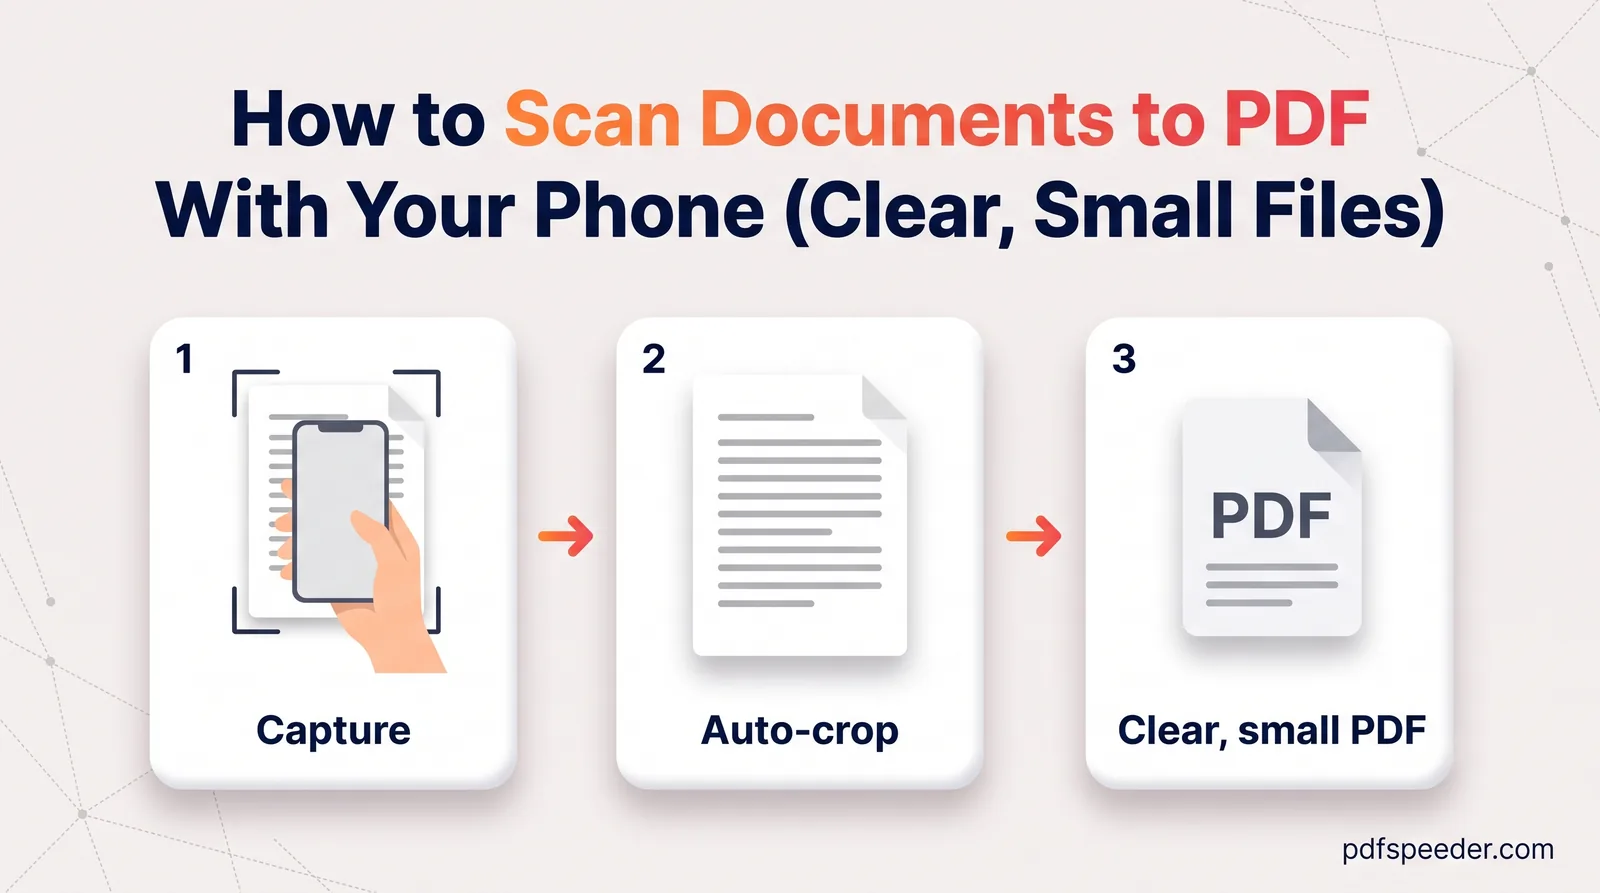
Most phone scanning apps offer a similar choice as a filter; our guide to scanning documents to PDF with your phone covers the iPhone and Android options. Whatever the app, check the first page at full size before you scan a whole stack.
Compress the scanned PDF you already have
When the scan already exists, Compress PDF is the quickest fix for a scanned PDF that's too big:
- Open Compress PDF and add your file (up to 100 MB).
- Choose a level. Balanced suits most scans; High Compression is for tight limits.
- Under Advanced Options, tick Convert to grayscale if colour doesn't matter. It turns everything gray, seals and photos included.
- Select Compress PDF, compare the first page before and after, and download the copy ending in "-compressed".
The file is uploaded over an encrypted connection, compressed on our server and deleted automatically within 2 hours. Each file counts as one task in the free daily allowance (2 a day without an account, 3 with a free account), and trying another level on the same file within 2 hours is free.
Here's what each setting did to a two-page form scanned at 300 DPI in colour:
| Setting | Result | Per page |
|---|---|---|
| Original scan | 1,999.6 KB | about 1,000 KB |
| Low Compression | Returned unchanged | |
| Balanced | 173.0 KB | 87 KB |
| Balanced + grayscale | 160.2 KB | 80 KB |
| High Compression | 102.2 KB | 51 KB |
| High + grayscale | 95.1 KB | 48 KB |
Low Compression only resamples images sharper than 300 DPI, so it leaves a 300 DPI scan alone and the tool hands it back as "Already optimized". Balanced is the sweet spot for most portals: the typed text stayed crisp. At High, the same text was still readable at 100% zoom but visibly softer, so check the smallest print before you use it.
The grayscale option saved a further 7% here, because this form had little colour to begin with. Pages with coloured backgrounds, letterheads or photos have more to lose and shrink more. For limits that need a per-page budget, see how to fit several scans under 200 KB.
Crop borders and straighten pages first
Scans often arrive with dark edges from the scanner lid, a sideways page or a slight tilt. Fixing them makes the document easier to read and helps OCR, but it's worth knowing what each fix does to the file size.
Cropping hides borders; it doesn't delete them
Crop PDF lets you draw a box on the page and apply it to every page or just one. It runs in your browser on files up to 100 MB. It changes the visible area of the page, while the pixels outside stay in the file. In a test, the cropped scan compressed on Balanced came out within 0.1 KB of the uncropped one.
To get rid of borders for real, crop when you scan: adjust the frame in your phone app or the scanner's preview so only the paper is captured. There's one useful exception, covered in the OCR section: OCR redraws each page from its visible area, so borders you've cropped disappear for good.
Turn sideways pages the right way up
Rotate PDF turns all pages or just the ones you pick by 90°, 180° or 270°, and saves the change in the file. Rotation is a page setting, so it doesn't change the size; it just saves everyone from tilting their head.
A page that's slightly crooked rather than sideways is a different problem. Tesseract's documentation notes that skewed lines significantly reduce OCR quality, which is why PDF to OCR has an Auto-correct skew option.
Make it searchable again with OCR
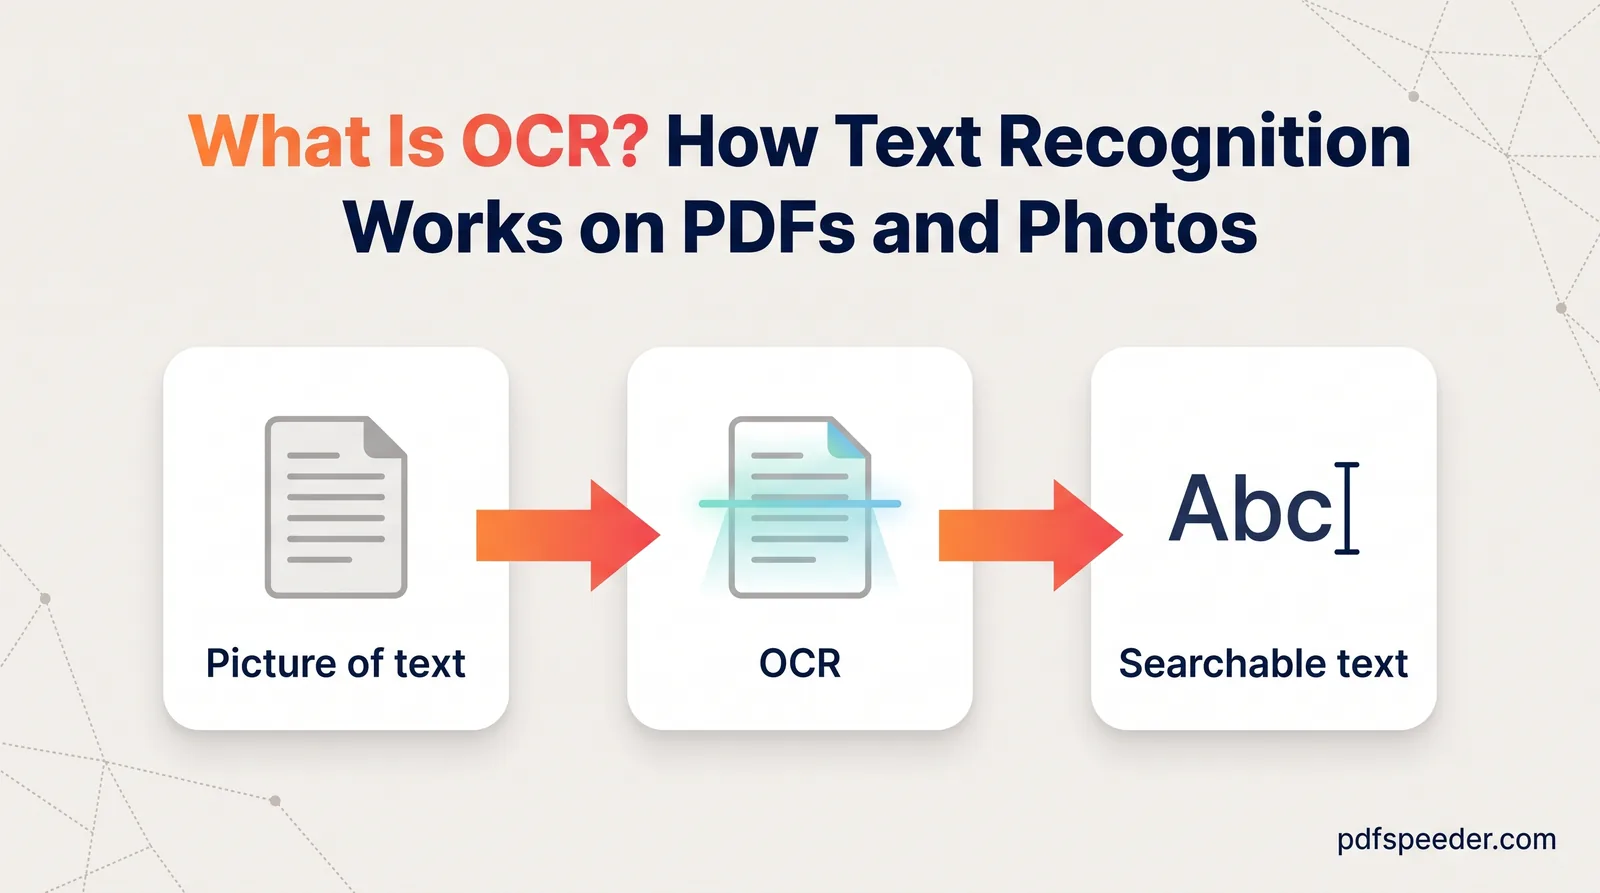
OCR (optical character recognition) adds an invisible layer of real text over the page image, so you can search, select and copy the words. Our explainer on what OCR is covers how it works. For file size, the order you do things in matters a lot:
| Order | Searchable result |
|---|---|
| Compress on Balanced (173.0 KB), then OCR at 300 DPI | 1,542.8 KB |
| Compress on Balanced, then OCR at 150 DPI | 438.7 KB |
| OCR at 300 DPI first (1,832.7 KB), then compress on Balanced | 171.9 KB |
| OCR at 300 DPI first, then compress on High | 101.6 KB |
PDF to OCR rebuilds every scanned page as a fresh image at its recognition resolution, 300 DPI by default, with the text on top. Run it on an already-compressed scan and the pages are rebuilt at 300 DPI again, so the file grew more than eightfold in the test. Run it first and the compressor shrinks the images while keeping the invisible text layer: both compressed versions stayed fully searchable.
So the order is: crop and rotate if needed, OCR, then compress.
- Open PDF to OCR and add your scan. It runs in your browser, so the file isn't uploaded, and accepts PDFs up to 100 MB.
- Keep Searchable PDF as the output and Auto as the OCR strategy, so pages that already contain text are copied rather than redrawn.
- Select the document's languages, then tick Auto-correct skew and Auto-rotate wrong-way-up pages if any pages are crooked or upside down. Enhance scans before OCR is on by default.
- Select Run OCR and download the file ending in "_searchable.pdf".
- Run that file through Compress PDF, then search for a word you can see on the page to confirm the text layer survived.
Because the searchable PDF is redrawn from each page's visible area, any border you cropped beforehand is now gone from the file, and the straightened pages stay straight.
Tip: Crop PDF, Rotate PDF, PDF to OCR and Compress PDF each use one task from the free daily allowance, so skip the steps your scan doesn't need. PDF to OCR's auto-rotate option, for example, can stand in for Rotate PDF.
Scan or pick your file, decide whether it needs to be searchable, and if it does, run OCR before anything else.
Frequently asked questions
How do I reduce scanned PDF size without losing readability?
Compress it on Balanced, which keeps scans at about 100 DPI, enough for typed text on screen. If you can rescan, use 150 to 200 DPI in grayscale, or black and white for plain typed pages.
Why is my scanned PDF so big?
Every page is a full photograph of the paper, and scanning at 300 DPI or more in colour captures millions of pixels per page. A 600 DPI A4 page holds 34.8 million of them.
Should I scan in black and white or grayscale?
Black and white makes the smallest files and suits plain typed pages. Use grayscale when a page has a seal, a signature in coloured ink or a photo, because black and white can erase light marks.
Does compressing a scanned PDF remove the OCR text layer?
No. In a test, a searchable scan compressed on Balanced and High kept its invisible text layer and stayed fully searchable. Just run OCR before compressing, not after.
Does cropping a scanned PDF make it smaller?
Not on its own, because cropping hides the borders rather than deleting their pixels. Crop while scanning instead, or crop and then run OCR, which redraws each page from its visible area.