How to Reduce PDF Size on a Mac (Without Preview's Blurry Results)
Reduce PDF size on a Mac with Preview's Quartz filter, a gentler custom filter made in ColorSync Utility, or an online compressor that shows the result first.

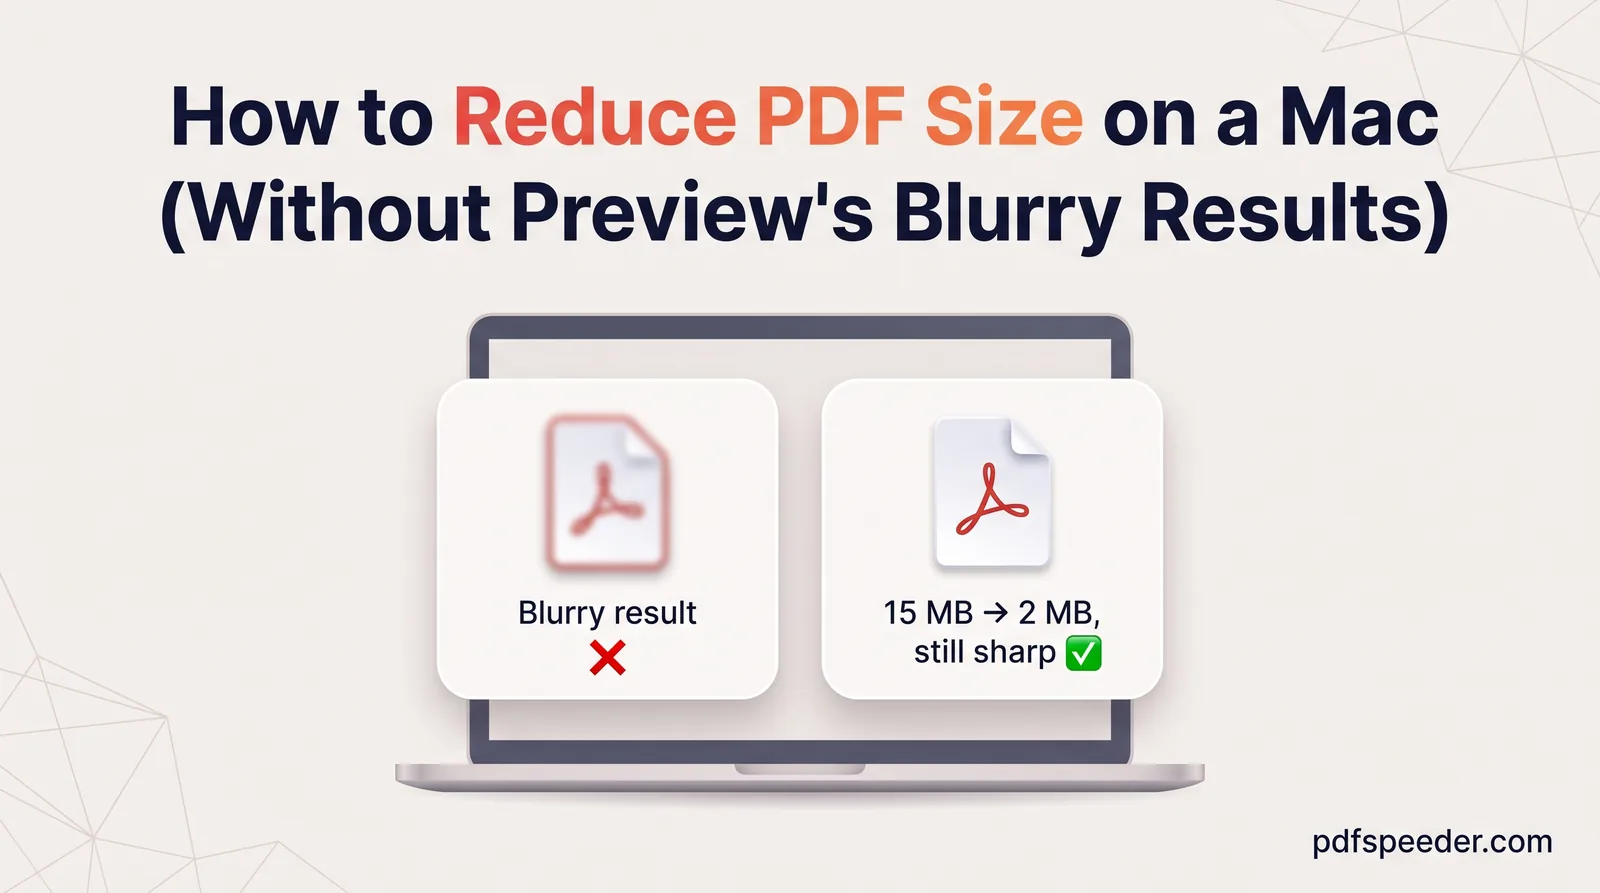
To reduce PDF size on a Mac, open the file in Preview, choose File > Export and pick Reduce File Size from the Quartz Filter menu. It's free and built in, but it applies one fixed setting to every image, which can leave scans, signatures and screenshots blurry. If that happens, make a gentler filter of your own in ColorSync Utility, or use an online compressor that lets you choose a level and compare the result before you download it.
On this page
Option 1: Reduce PDF size on a Mac with Preview
Apple's Preview User Guide gives these steps:
- Open the PDF in Preview.
- Choose File > Export. (On older versions such as macOS Ventura, Apple adds: not Export as PDF.)
- In the Quartz Filter pop-up menu, choose Reduce File Size.
- Type a new name in the Export As field, so your original isn't replaced, and click Save.
Recent versions add checkboxes to the same Export dialog. Apple documents Optimize images for screen and Save images as JPEG from macOS Sequoia, and Create Linearized PDF, for faster loading in web browsers, from macOS Tahoe. Everything happens on your Mac, so nothing is uploaded.
Apple is upfront about the trade-off: the compressed PDF may be of lower quality than the original, and the file size and image quality vary with the options you choose. So open the copy and check it before you send it.
Why Preview's result can look blurry
The Reduce File Size filter isn't adjustable from Preview: no slider, no levels, no before-and-after view. Whatever image limits it applies hit every picture in the document the same way, and three things tend to go wrong.
A full-page scan suffers most. A scanned page is one big image, so any cap on image size lands on the whole page at once. Apple doesn't publish the filter's limits, and Mac users have reported different settings on different macOS versions, but the arithmetic is the same whatever the cap is. Here's what three example caps on the long side of an image would leave of an A4 scan:
| Example cap (long side) | Resolution left on an A4 page | Height of a capital letter in 10-point text |
|---|---|---|
| 600 pixels | 51 DPI | about 5 pixels |
| 1,200 pixels | 103 DPI | about 10 pixels |
| 2,400 pixels | 205 DPI | about 20 pixels |
resolution = pixel cap ÷ page height in inches (A4: 297 mm ÷ 25.4 = 11.69 inches)
letter height ≈ resolution × 7 ÷ 72 (a 10-point capital is about 7 points tall)
At around 10 pixels, typed text is readable but soft; at 5, small print and signatures break up. A small photo on the same page has far fewer pixels to lose, which is why a brochure can look fine while a scan of a form doesn't.
JPEG smears sharp edges. JPEG is built for photographs. On text, line drawings and screenshots, it leaves fuzzy halos around every edge, and Save images as JPEG converts every image in the file to JPEG, as Apple's guide says.
You only find out afterwards. Preview saves the copy without showing you what changed, so the blur is discovered when someone else opens the file.
Option 2: Build a gentler custom Quartz filter
Quartz filters are managed in ColorSync Utility, which comes with every Mac (look in Applications > Utilities, or search for it with Spotlight). Apple's ColorSync Utility User Guide explains how to copy and edit one:
- Open ColorSync Utility and click Filters in the toolbar.
- Find Reduce File Size. If it has a lock icon, you can't edit it directly; click the Duplicate button next to the lock to make an editable copy.
- Click the arrow to the left of the copy, then the arrow next to each of its components, to show the settings. Apple describes these image settings as covering size, bit depth, interpolation and compression.
- Allow more pixels: for documents read on screen, keep at least 150 DPI on the page, which on an A4 page means about 1,750 pixels on the long side. Then set the compression quality higher than in the original filter.
To use it, choose File > Open in ColorSync Utility and select your PDF. Pick your filter from the Filter pop-up menu at the bottom of the window. Apple notes the effect shows in the window without changing the file, so you can step through the pages with the arrows in the toolbar and check the smallest print. When it looks right, click Apply, save the result under a new name, and compare its size with the original.
This is the free route to compressing a PDF on a Mac with real control, and the filter stays saved for next time. It takes some trial and error the first time, because there are no presets to start from other than Apple's own.
Option 3: Compress online with a quality preview
When you need a predictable result, or a file under a specific limit, an online compressor with stated levels is simpler. Compress PDF works in Safari like any other browser:
- Open Compress PDF and add your PDF (up to 100 MB). You'll see page thumbnails and an estimated size.
- Choose a level: Low Compression keeps images at 200 DPI for printing, Balanced at 100 DPI for screens and most portals, High Compression at 72 DPI for very tight limits.
- Under Advanced Options, leave Strip metadata on unless you need the title and author kept. Convert to grayscale is there if colour doesn't matter.
- Select Compress PDF. The result shows the old and new sizes and the first page before and after, at the same size, so you can check the small print before you download.
- Download the copy ending in "-compressed". Safari saves it to your Downloads folder unless you've changed that.
Text stays sharp at every level, because it isn't an image, but a screenshot is one. In a test with a PDF holding a screenshot of a typed page, Low Compression kept the screenshot lossless, while Balanced and High resampled it and saved it as a JPEG, making the file 63% and 77% smaller; the words stayed readable, just a little softer. When compression can't save anything, you get your original back instead of a bigger file.
Unlike Preview, this uploads your file: it travels over an encrypted connection, is compressed on our server and is deleted automatically within 2 hours. Each file counts as one task in the free daily allowance, which is 2 tasks a day without an account and 3 with a free account, reset at 00:00 UTC (05:30 IST). Trying another level on the same file within 2 hours is free.
Which option for which PDF
| Your PDF | Best option | Why |
|---|---|---|
| Photos or a colourful brochure for email | Preview's Reduce File Size | Fast and local, and photos hide JPEG artefacts well |
| Scans with small print, stamps or signatures | Custom filter, or Compress PDF on Balanced | You choose the resolution and can check it first |
| Screenshots, charts and diagrams | Compress PDF on Balanced | It shrank the test screenshot by 63% and kept it readable; Low keeps flat images lossless |
| A strict upload limit, such as 2 MB | Compress PDF | Three stated levels and the exact size before download |
| A confidential file that mustn't leave your Mac | Preview or ColorSync Utility | Both run entirely on your Mac |
| Still too big, but the portal accepts several files | Split PDF | Each part can go up separately |
For that last case, Split PDF cuts a file into parts by page ranges or every few pages. It runs in your browser on files up to 50 MB, and each split also counts as one daily task.
If you made the PDF yourself in Pages, Word or Keynote, exporting it again with smaller images often beats compressing the finished file. Our seven ways to reduce PDF file size cover that and other methods, and our guide to compressing a PDF without losing quality explains which settings change pixels and which don't. If a file stays stubbornly big whatever you try, our guide to why a PDF is so large helps you find the cause.
Try Preview's filter first on a copy of your file. If the small print looks soft at 100% zoom, move on to Option 2 or 3 rather than sending it.
Frequently asked questions
How do I reduce PDF size on a Mac for free?
Open the PDF in Preview, choose File > Export, pick Reduce File Size from the Quartz Filter menu and save under a new name. It's built into macOS and runs entirely on your Mac.
Why does Preview's Reduce File Size make my PDF blurry?
It applies one fixed set of image limits and JPEG compression to every image, which hits full-page scans, small text and screenshots hardest. A custom filter or a compressor with levels gives you more control.
Can I change the Reduce File Size settings?
Not in Preview. In ColorSync Utility, duplicate the filter if it's locked, then raise the image size and quality settings in your copy.
Is it safe to compress a PDF on a Mac online?
Compress PDF uploads the file over an encrypted connection and deletes it within 2 hours. For files that must stay on your Mac, use Preview or ColorSync Utility instead.
What's the best way to compress a scanned PDF on a Mac?
Use a custom Quartz filter that keeps about 150 DPI, or Compress PDF on Balanced, which brings scanned pages down to 100 DPI. Either way, check the smallest print at 100% zoom before you send it.