How to Make a Photo Background White for Products and ID Photos
Make a photo background white with AI: pick the right subject type, fix hair and edges, choose JPG or PNG, and see when official photos must stay unedited.

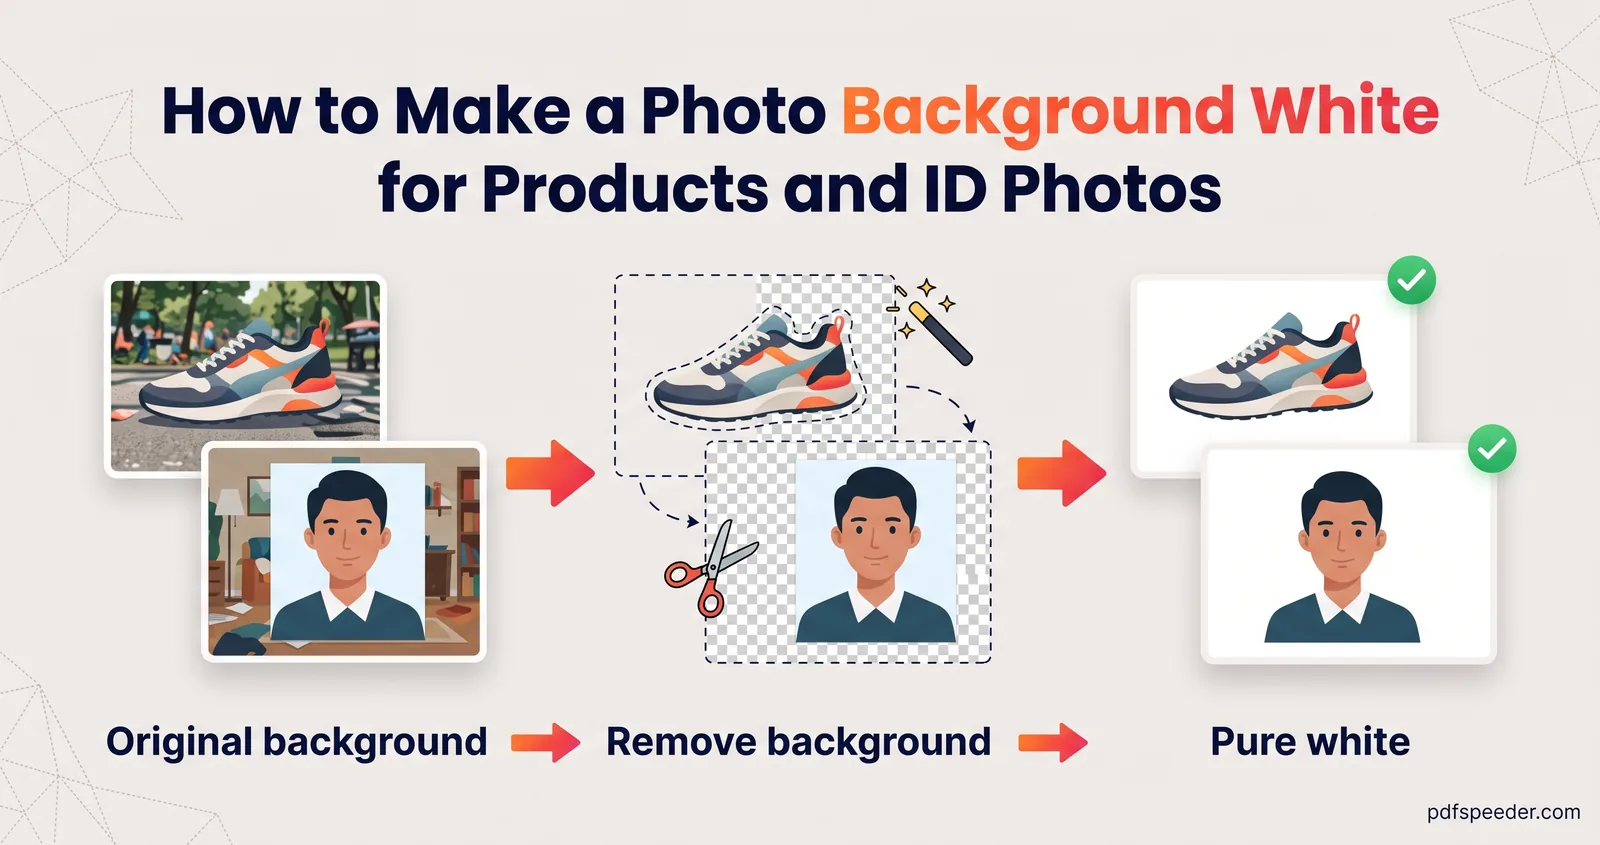
To make a photo background white, remove the existing background with an AI tool, fill the empty area with white and save the result as a JPG. Our Background Remover does all three in about a minute, and gives you a brush to clean up anything the AI misses. One warning first: passport authorities such as India's and the UK's want photos that are unaltered by software, so for a passport, retake the photo against a white wall instead of editing it.
On this page
When you need a white background
A white background is a common request, but not every request allows editing. Check which group your photo falls into before you start:
| What the photo is for | Is editing the background fine? | What to check |
|---|---|---|
| Product photos for an online shop or catalogue | Yes | Your marketplace's image guidelines (size, margins, background) |
| Resume, profile or company directory photo | Yes | Nothing special |
| Office ID card or college form that asks for a plain background | Usually | Whether the form says "unedited" or "original photo" |
| Exam or job application | Check the notification | IBPS's 2026 guidelines ask for a light-coloured, preferably white, background |
| Passport or visa | No, for India and the UK | Both require photos unaltered by computer software |
For the last two rows, getting the background right in the camera is safer than fixing it afterwards; the final section shows how.
How to make a photo background white with our Background Remover
Our Background Remover runs an AI model on our server to separate the subject from the background, then lets you pick the new background in your browser.
- Add your photo. Open Background Remover and drop in a JPG, PNG, WebP, BMP, GIF or TIFF image, up to 30 MB. It's uploaded over an encrypted connection, and the AI starts as soon as the image loads, using the General subject type.
- Check the cut-out. The result appears on a checkerboard, which marks the transparent areas. If you're removing the background from a photo of a person and the edges look rough, choose People and click Remove background again.
- Choose white. Under Background, click the white swatch. The change is instant, because it happens in your browser rather than on the server. Black, blue, green and a custom colour picker sit next to it if you need another colour.
- Compare. Press and hold Hold to compare to see the original, or switch on Side by side to view both at once.
- Download. Click JPG for a white-background file that any form or shop accepts. The image keeps its original pixel dimensions and is saved as
yourname-no-bg.jpg.
The three subject types use different AI models, so it's worth knowing which one to pick:
| Subject type | Use it for | Trade-off |
|---|---|---|
| General (the default) | Products, objects, pets and most everyday photos | A good all-rounder |
| People | Portraits, selfies and group shots | Trained specifically on people |
| Fast | Quick drafts and simple, high-contrast shapes | Rougher edges |
Good to know: Each successful background removal counts as one task in the free daily allowance: 2 tasks a day without an account, 3 with a free account, reset at 00:00 UTC (05:30 IST). Changing the background colour, using the brush and downloading don't use another task, and neither does running the same photo again within 2 hours with another subject type or with Refine hair/fur edges ticked. Uploaded photos are deleted from our server automatically within 2 hours.
Prefer to stay on your own device? The Photos app in Windows can remove a background or replace it with a solid colour, according to Microsoft's announcement. On a Mac, Preview has a Remove Background button, and on an iPhone XS or later with iOS 16 or newer you can touch and hold a photo's subject to lift it out; both give you a transparent cut-out that you'd still need to place on white.
Fix hair, edges and leftover patches
AI cut-outs usually go wrong in the same few places: flyaway hair, gaps between an arm and the body, and objects the same colour as the background. Our tool has two fixes.
Refine hair and fur edges
Tick Refine hair/fur edges (slower) before you click Remove background. It applies an extra edge-refinement step that keeps fine strands soft instead of chopping them off in a hard outline. It takes longer, so use it when hair or fur actually matters, such as a portrait or a pet photo. Ticking it and running a photo you've already processed again, within 2 hours, doesn't use another task.
Touch up with the brush
Under Touch-up brush, you have two tools:
- Erase removes leftover background, such as a patch of wall showing between an arm and the body.
- Restore paints the original photo back in, for parts of the subject the AI removed by mistake, such as an ear, a strap or a glass bottle.
Set the brush size anywhere from 6 to 120 pixels (it starts at 28). Use a large brush for big patches and a small one near edges, and work with white already selected as the background, so you see exactly what the final image will look like. Undo steps back through up to 20 brush strokes, and Reset returns to the AI's original cut-out.
If fine hair keeps a thin dark fringe against the white, that's colour from the old background caught in the strands. Refining the edges usually helps, and a photo taken against a lighter, plainer background helps more.
Save as JPG or PNG?
Both download buttons apply the background you picked (a JPG can't be transparent, so with the transparent swatch it gets white instead), so the question is what you need the file for:
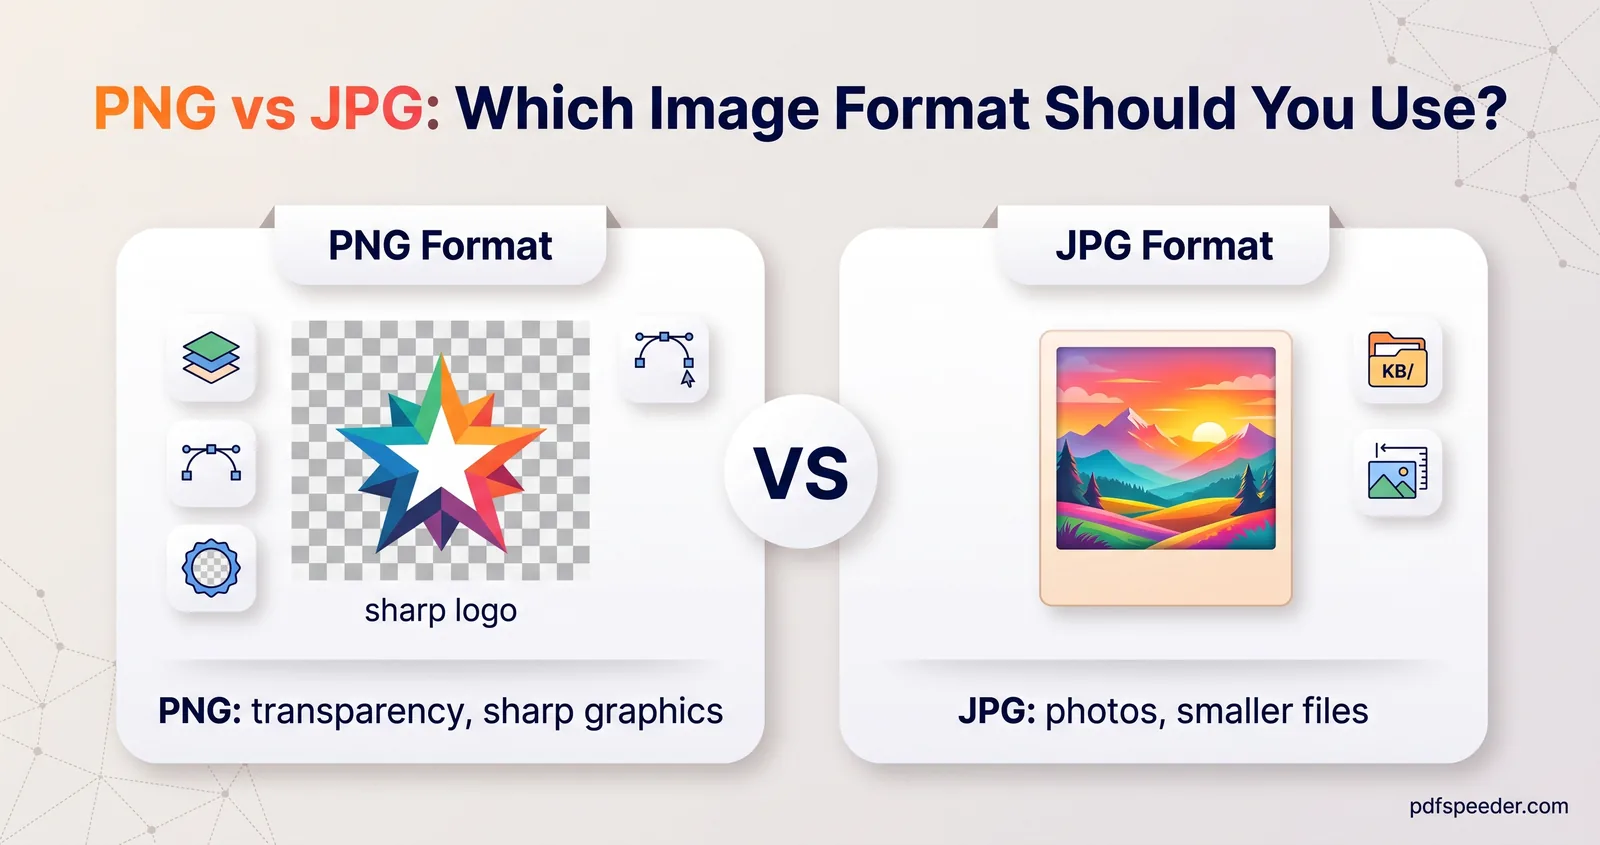
- JPG is the right choice for upload forms, online shops and printing. The white is baked in, and JPG files are much smaller than PNGs for photos. Exam portals often insist on it: IBPS's guidelines say the file should be JPG or JPEG.
- PNG is the format to choose when you want to keep the background transparent, for example to place a product on a coloured banner later. Select the transparent swatch, then download PNG. It's lossless, so expect a bigger file; our PNG vs JPG comparison shows how much bigger on real photos.
After that, size the photo for wherever it's going. Use the Image Resizer to crop or pad it to exact pixel dimensions, such as a square for a shop listing, and the Image Compressor if a form caps the file size in KB. Both run entirely in your browser. Our guide to reducing image size in KB explains how to hit an exact limit without wrecking the photo.
Shadows, lighting and rules for official photos
Official photo rules care as much about light and shadow as about colour, and editing the background can't fix either. Here's what the authorities say:
- India: the ICAO photo guidelines published by Indian missions, such as this notice from the Embassy of India in Lima, ask for a white background, uniform lighting with no shadows on the face or in the background, a photo taken from 1.5 metres away, and photos "unaltered by computer software".
- United Kingdom: GOV.UK's passport photo rules ask for a plain, light-coloured background, no shadows on your face or behind you, and a photo unaltered by computer software.
- IBPS exams (2026 guidelines): a light-coloured, preferably white, background, and no harsh shadows; on a sunny day, put the sun behind you or stand in the shade.
So for a white background photo for a passport, take a new photo rather than editing an old one:
- Stand about a metre in front of a plain white wall, so your shadow is less likely to land on the wall right behind your head.
- Face a window or other soft light, so both sides of your face are evenly lit.
- Have someone else take the photo from about 1.5 metres away, at eye level.
- Check for shadows on the wall and on your face before you crop or resize anything.
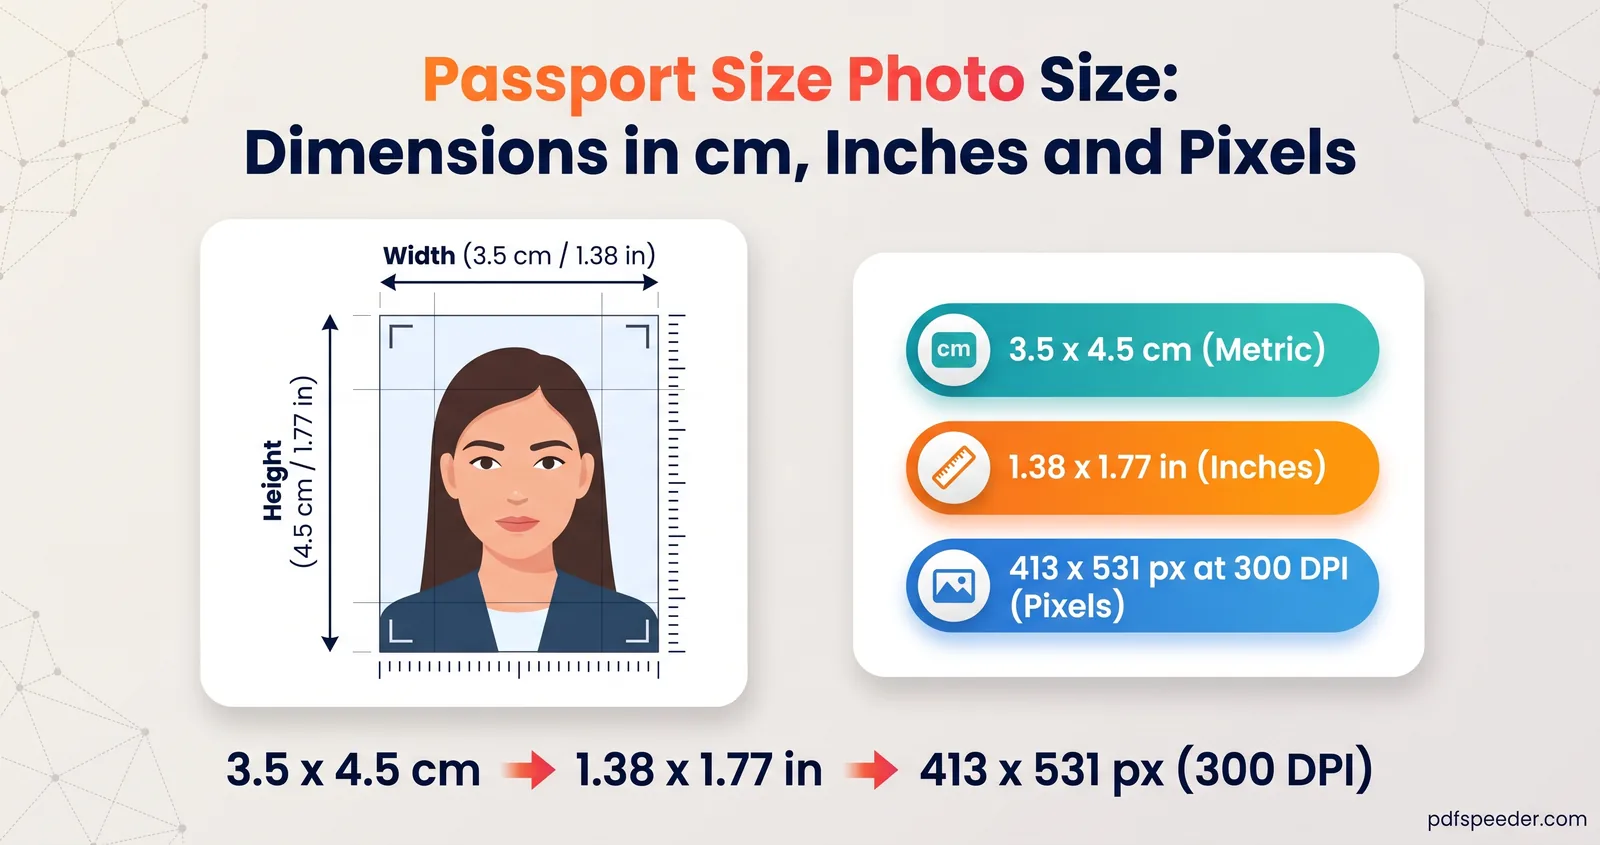
Our passport photo size guide lists the exact dimensions for India, the US, the UK and Schengen visas.
Next step: for a product shot, resume or ID card photo, open the Background Remover, choose white and download a JPG; for a passport, set up against a white wall first.
Frequently asked questions
Can I change my passport photo background to white with an app?
Not for India or the UK: both require photos unaltered by computer software, and an edited photo can be rejected. Retake the photo against a plain white wall with even lighting instead.
Is the Background Remover free?
Yes, within the free daily allowance: each successful background removal counts as one task. Changing the background colour, using the brush or running the same photo again within 2 hours doesn't use another task.
Why did my transparent background turn white?
JPG can't store transparency, so a JPG download is always filled with the background colour you chose, or white. To keep transparency, select the transparent swatch and download PNG.
How do I fix rough edges around hair?
Tick "Refine hair/fur edges" and run the removal again, then use the Restore brush for any strands that are still missing. A photo taken against a plain, contrasting background gives the AI cleaner edges to start with.
Is my photo stored after background removal?
It's processed on our server and deleted automatically within 2 hours. The background colour, brush edits and download all happen in your browser.