How to Resize a Photo to 20KB for Exam and Job Forms
Resize a photo to 20KB the reliable way: crop to the exact pixel size first, then compress to a 20 KB target so the face stays sharp and the upload passes.

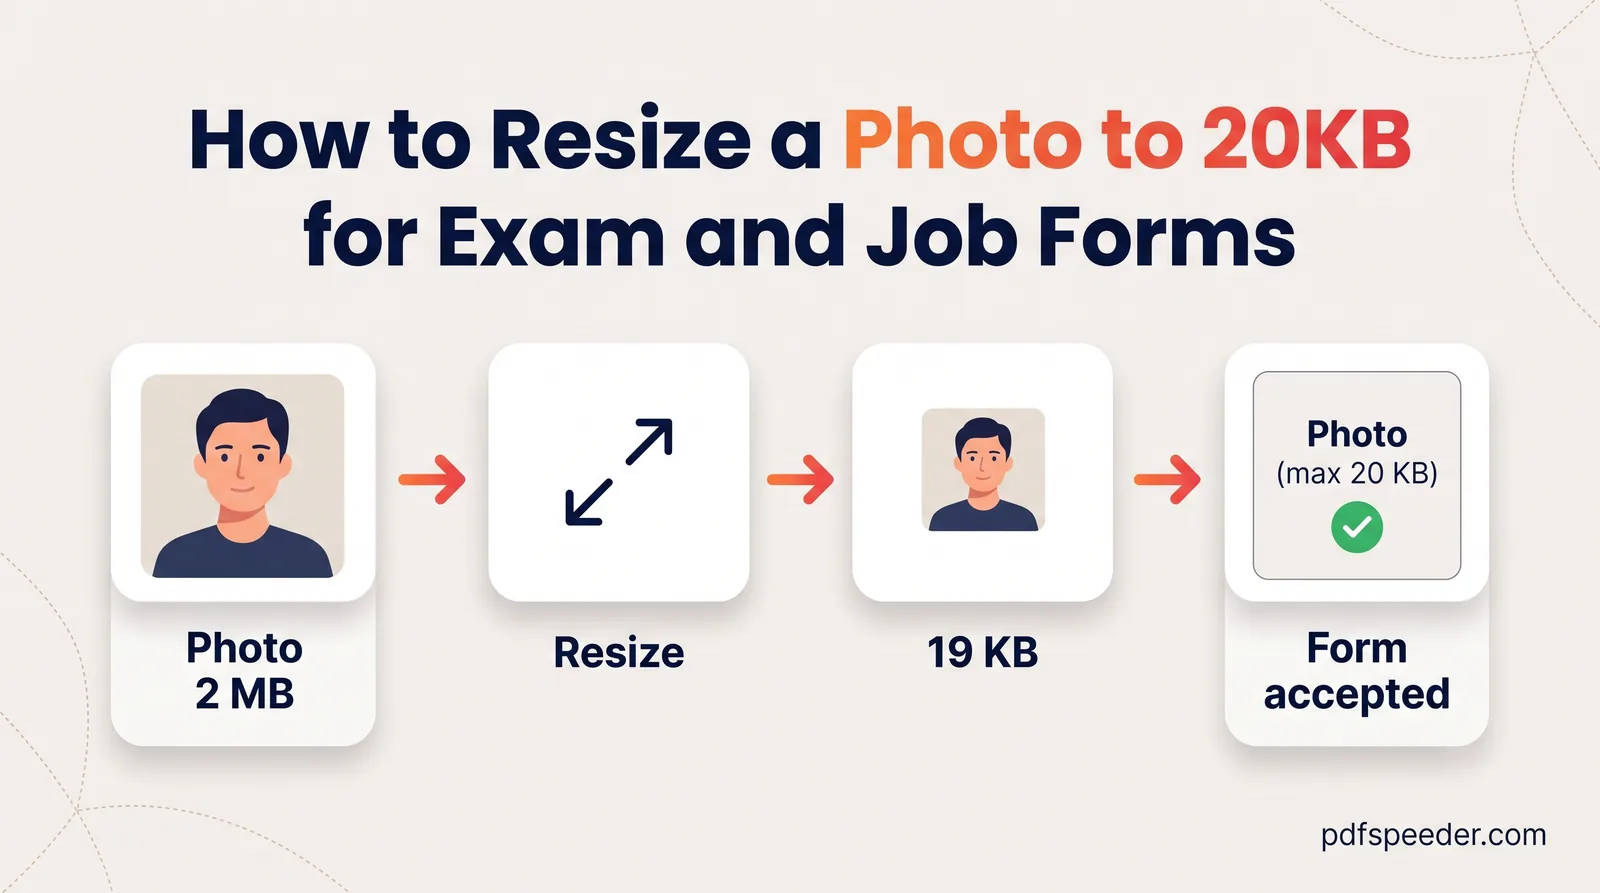
To resize a photo to 20 KB, first crop and resize it to the pixel dimensions the form asks for, such as 200 × 230 pixels or 3.5 × 4.5 cm (276 × 354 pixels at 200 DPI), and only then compress it with a 20 KB target. A phone photo has around 12 million pixels, far too many to squeeze into 20 KB by lowering the quality alone. Done in that order, the face stays sharp and the file lands in range on the first try.
On this page
Resize the photo first: why 20KB needs fewer pixels
A 20 KB target is 20,000 bytes, or 160,000 bits, and every pixel in the photo has to share them. Divide that budget by the number of pixels and you can see straight away whether a 20 KB photo will look like a face or a mosaic:
| Photo dimensions | Pixels | Bits per pixel at 20 KB |
|---|---|---|
| 4000 × 3000 (straight from a phone) | 12,000,000 | 0.01 |
| 1000 × 750 | 750,000 | 0.21 |
| 413 × 531 (3.5 × 4.5 cm at 300 DPI) | 219,303 | 0.73 |
| 276 × 354 (3.5 × 4.5 cm at 200 DPI) | 97,704 | 1.64 |
| 200 × 230 | 46,000 | 3.48 |
A JPEG photo generally needs somewhere around one bit per pixel to look clean. At the sizes forms ask for, 20 KB is plenty; at phone resolution it's a hundredth of what's needed. Our Image Compressor won't hand you mush in that case; instead it shrinks the photo until the file fits, and the dimensions it ends up with won't be the ones on the form.
What the form is really asking for
Before you touch the photo, read the specification in your notification. It usually covers four things: the dimensions (in cm or pixels), a file-size window in KB, the format (almost always JPG) and how the photo should look. Specs change between notifications, so treat these as examples, not rules for your exam:
- Recruitments run through IBPS (2026 guidelines): a recent passport-style colour photo of 4.5 cm × 3.5 cm against a light, preferably white, background; 200 × 230 pixels preferred; 20 KB to 50 KB; JPG or JPEG. Candidates also capture a live photo by webcam or phone during the application.
- SSC (2026 notices for CGL, CHSL, GD Constable, CAPF and Selection Post): no photo upload at all. The application captures a live photo through your camera, and a photo of an existing photograph gets the form rejected. You still upload a signature of 10 KB to 20 KB.
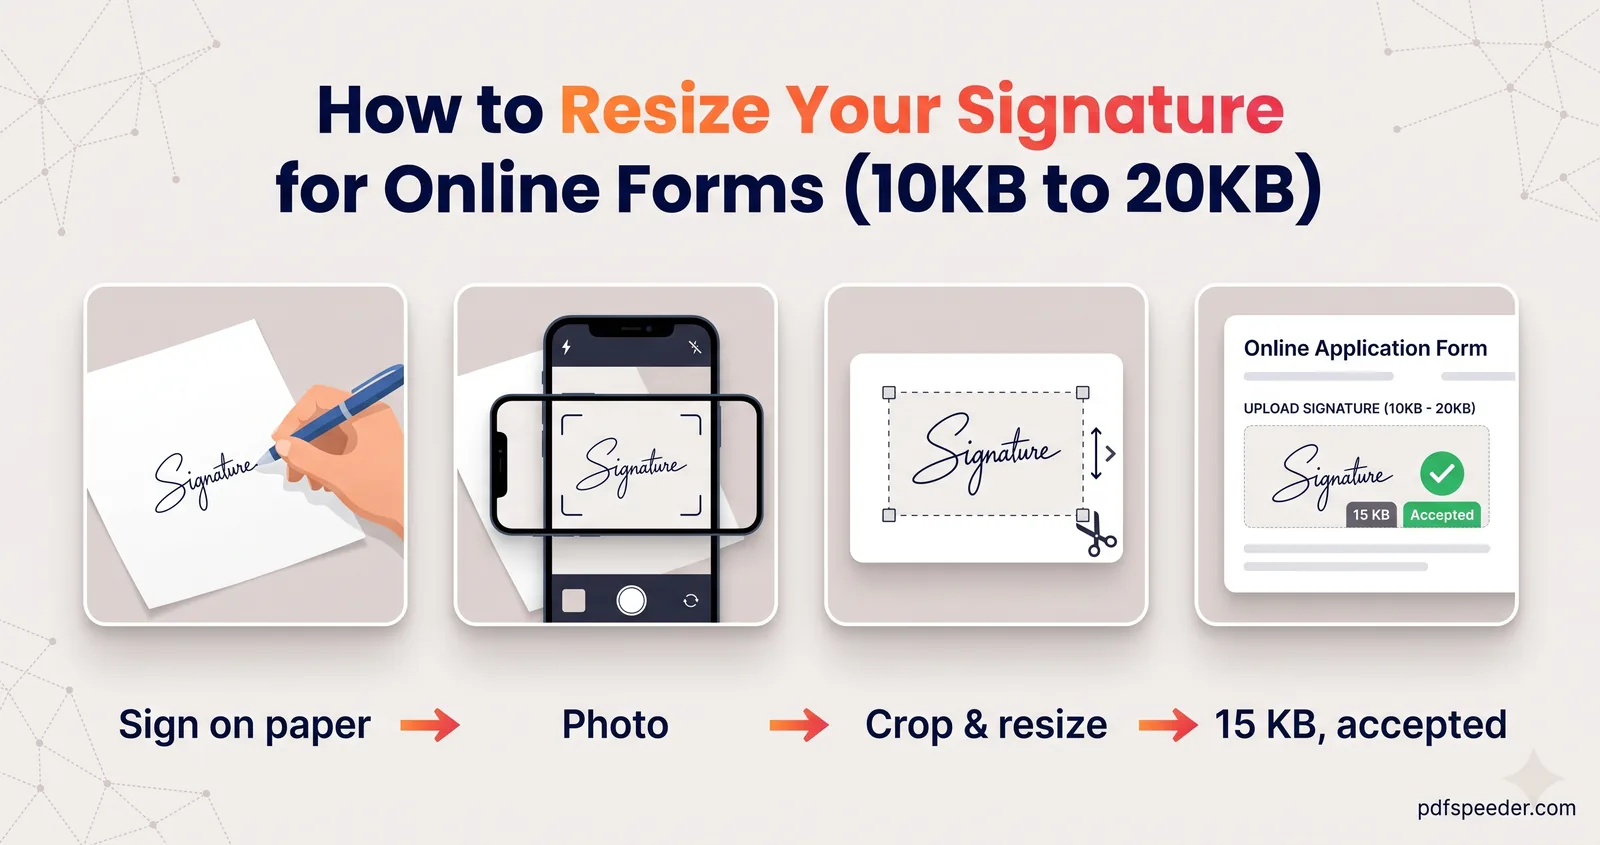
So if you landed here searching for an SSC photo resize to 20kb, check your notice first: for these exams you'll stand in front of a camera instead, and only the signature needs resizing, which our guide to resizing a signature for online forms covers. Everything below applies to the many online forms that still take an uploaded photo.
Step 1: Crop and resize to the required size
When a form gives the size in centimetres, convert it to pixels at the resolution it mentions, or 200 DPI if it says nothing, since IBPS asks for scans of at least 200 DPI:
pixels = centimetres ÷ 2.54 × DPI
3.5 cm at 200 DPI = 3.5 ÷ 2.54 × 200 = 276 px
4.5 cm at 200 DPI = 4.5 ÷ 2.54 × 200 = 354 px
If the form states pixels, such as 200 × 230, use those numbers directly. Then:
- Crop roughly first. In your phone's photo editor, crop to your head and shoulders with the face in the middle. A phone portrait is 3:4, a little taller and narrower than 200 × 230, so some trimming at the top and bottom is unavoidable.
- Open the Image Resizer and add the cropped photo.
- Choose Exact size and type the width and height, for example 200 and 230.
- Under "If the aspect ratio differs", pick Crop to fill. It trims from the centre, which is why the face should already be centred; Stretch would squash your face.
- Set the format to JPG, select Resize and download the result.
The resizer runs in your browser, so the photo isn't uploaded. It saves JPGs at quality 92 and doesn't aim for a file size, so the next step brings the KB into range.
Step 2: Compress to a 20KB target
- Open the Image Compressor and add the resized photo.
- Switch to Target size and type the limit in KB. The compressor counts 1 KB as 1,000 bytes, so a 20 KB target gives a file of at most 20,000 bytes, under the limit whichever way the portal counts.
- Set Output format to JPG and leave Max dimension on Keep size.
- Select Compress and drag the before/after divider across the eyes and mouth.
- Download the photo and check it: on Windows, right-click it, open Properties, read the size in bytes and the dimensions on the Details tab.
The compressor looks for the highest quality that fits under your target, so the file usually lands just below it. At these dimensions it has no reason to shrink the photo, so the 200 × 230 you set in step 1 should survive, but check the dimensions anyway before you upload.
When the form says 20KB to 50KB
A window is easier than a hard 20 KB cap, because you can aim high. Type the top of the window, such as 50 KB: the compressor counts 1,000 bytes per KB, so the file stays under the cap whichever way the portal counts:
| Form says | Type as the target | Why |
|---|---|---|
| Maximum 20 KB | 20 KB | At most 20,000 bytes, under the cap either way |
| 20 KB to 50 KB | 50 KB | More quality, still under the cap |
| 10 KB to 20 KB | 20 KB | Top of the window, sharpest result |
There's one catch. The compressor stops at quality 95, so a small, plain photo can come out below the 20 KB minimum even with a 50 KB target. If that happens, the photo is too small to carry 20 KB of detail.
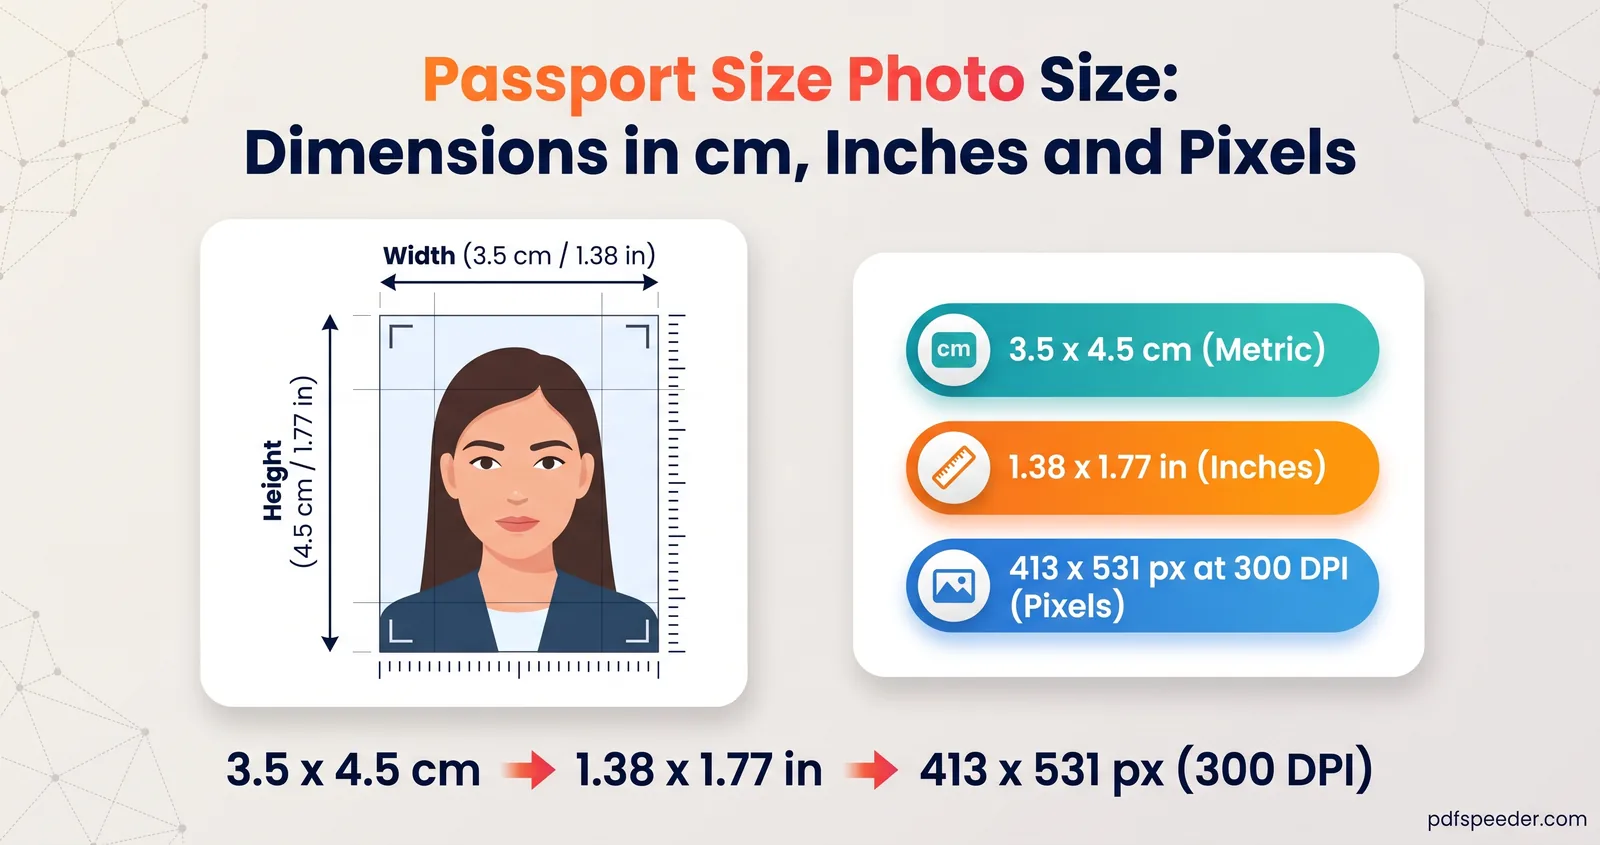
When the form's dimensions are fixed, retake the photo closer up, so your face fills more of the frame and gives the compressor more detail to keep. When they're only a preference, as in IBPS's "200 × 230 pixels (preferred)", somewhat larger dimensions such as 3.5 × 4.5 cm at 300 DPI (413 × 531 pixels) give the compressor more to work with.
Keep the face clear at small sizes
At 20 KB there's no detail to spare, so the photo you start with matters more than any setting:
- Fill the frame. Head and shoulders should take up most of the picture. A distant face spends the budget on background.
- Use a plain, light background and even light. A white or light wall, facing a window, with no shadows or glare on glasses. Plain backgrounds also compress better, leaving more bits for your face.
- Start from the original. Each time a JPG is saved it loses a little more, so resize the camera original once and compress once, rather than reworking a file that's already been squeezed.
- Don't enlarge a tiny photo. Start from a photo that's bigger than the size the form asks for. Blown-up photos look soft, and no setting fixes that afterwards.
If the only photo you have was taken against a cluttered background and the form simply asks for a light one, our Background Remover can replace it with white. Unlike the resizer and compressor, it works on our server: the photo is uploaded over an encrypted connection, deleted automatically within 2 hours, and each photo counts as one task in the free daily allowance (2 tasks a day without an account, 3 with a free account, reset at 00:00 UTC). Don't use it for passport photos, which several authorities require to be unaltered; our passport photo size guide explains those rules.
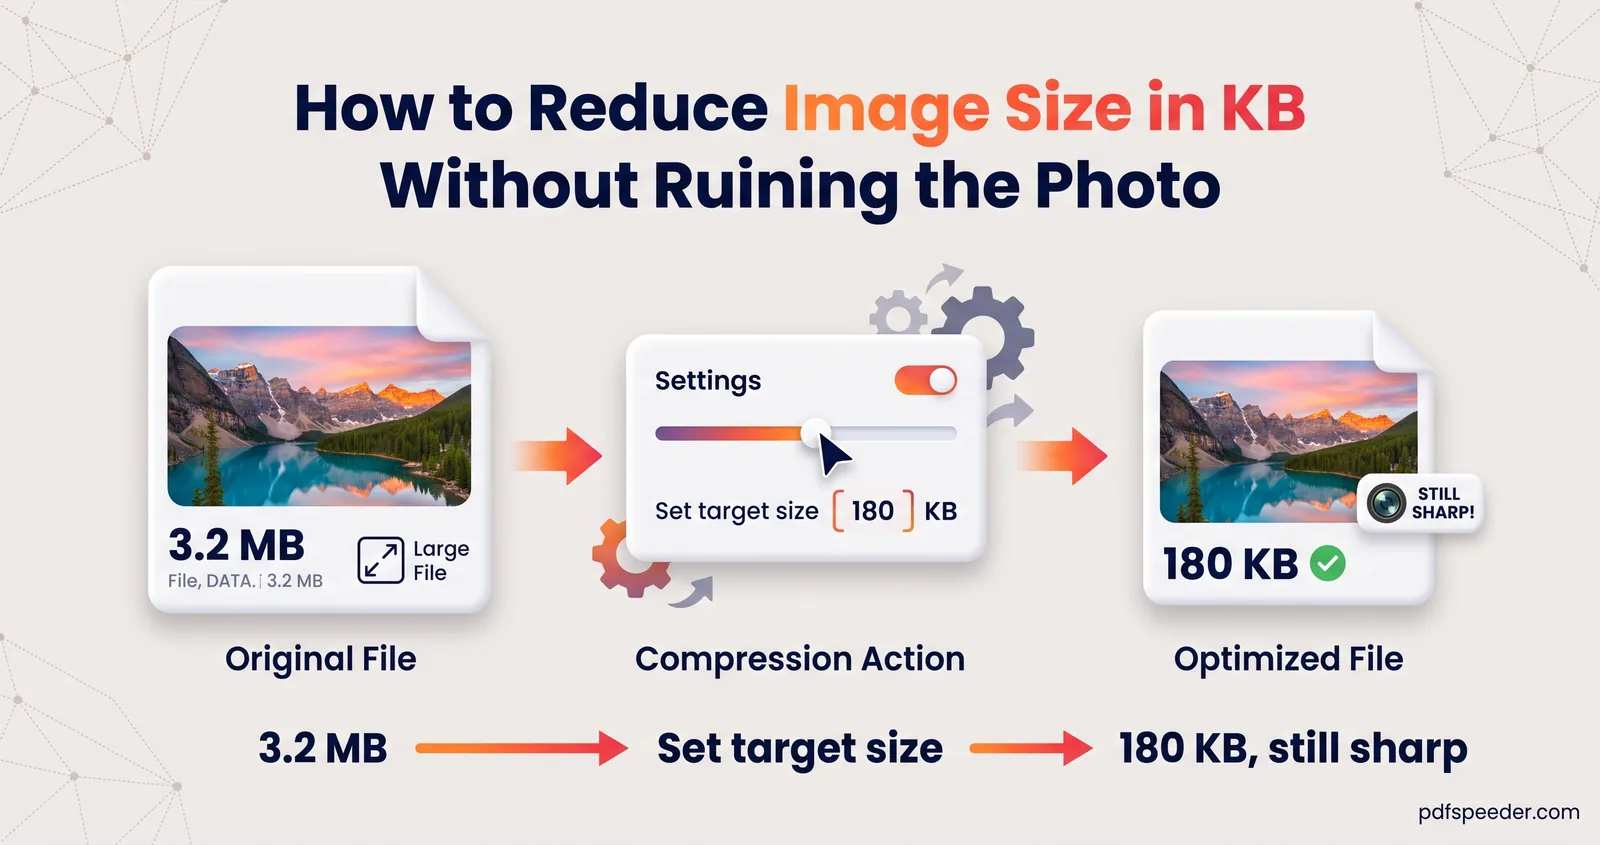
For more on how dimensions, quality and format trade off, see our guide to reducing image size in KB.
Ready to try? Crop your photo, resize it to the exact pixels in the Image Resizer, then compress it to your target and check the bytes before you upload.
Frequently asked questions
How do I resize a photo to 20KB?
Resize it to the dimensions the form asks for, such as 200 × 230 pixels, then compress it with a 20 KB target. Resizing first keeps the face sharp, because the compressor no longer has to squeeze millions of extra pixels.
Why does my photo look blurry or blocky at 20KB?
It still has too many pixels for the budget. At phone resolution, 20 KB leaves about a hundredth of a bit per pixel; at 276 × 354 pixels, the same 20 KB gives each pixel more than one and a half bits.
What size in pixels is a 3.5 × 4.5 cm photo?
At 200 DPI it's 276 × 354 pixels, and at 300 DPI it's 413 × 531 pixels. Use whichever resolution your form mentions; the Image Resizer's passport preset gives the 300 DPI version.
Does SSC still ask for a photo upload?
Not in its 2026 notices for CGL, CHSL, GD Constable, CAPF and Selection Post: the application captures a live photo instead. You still upload a scanned signature of 10 KB to 20 KB, so check the notice for your exam.
Can I do this on my phone?
Yes. The Image Resizer and Image Compressor both work in a mobile browser and process the photo on your phone, so nothing is uploaded.