How to Convert PDF to JPG in High Quality (DPI Explained Simply)
Convert PDF to JPG in high quality: pixel sizes for A4 and Letter at each DPI, the best setting for phones, portals, slides and print, and when PNG wins.

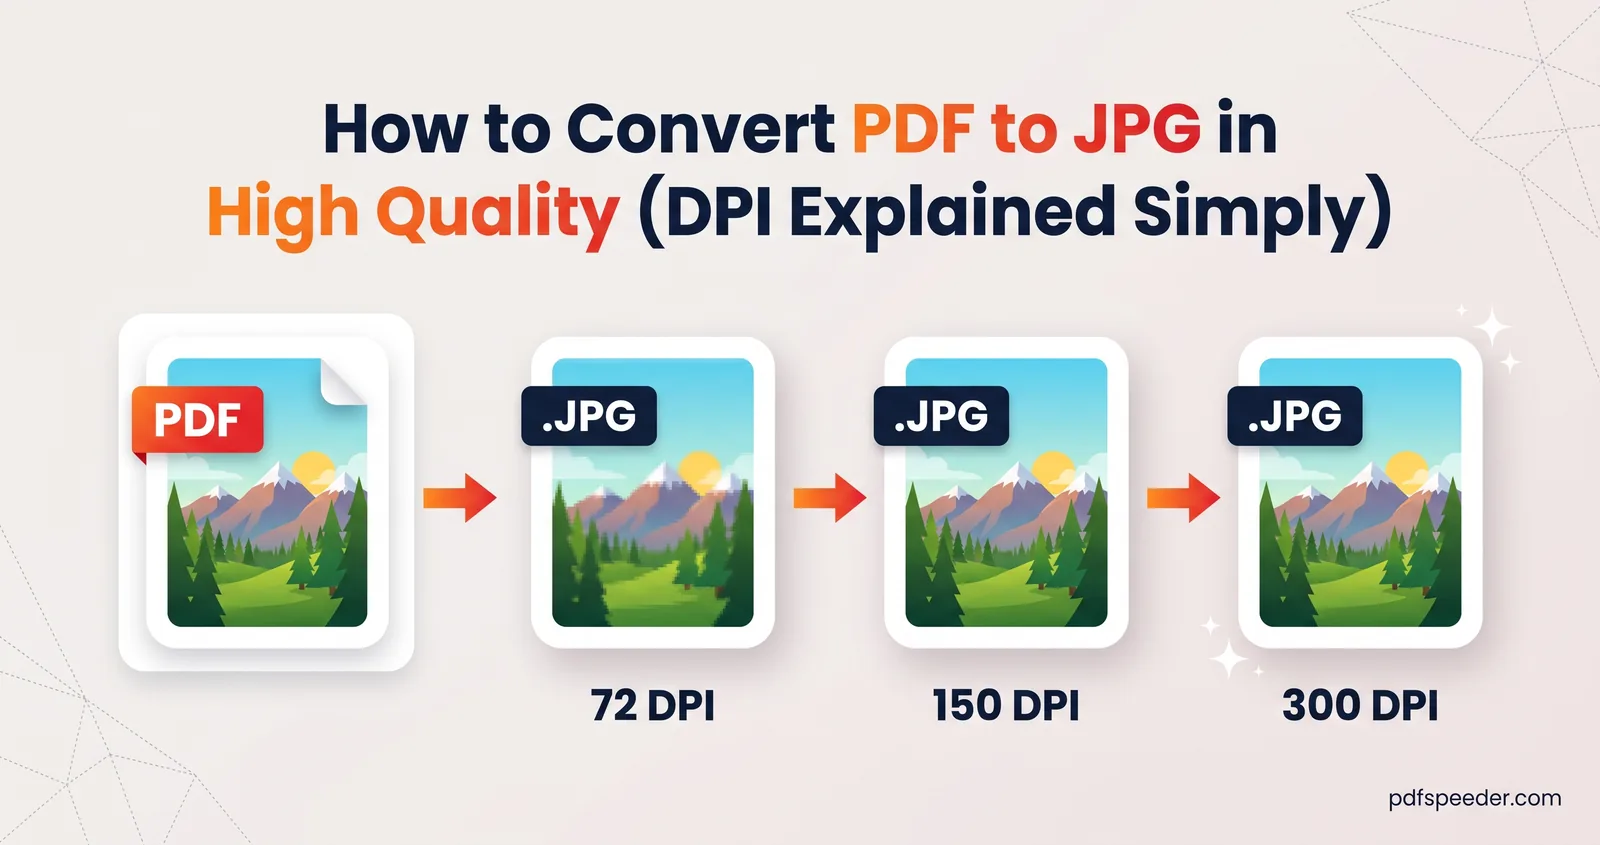
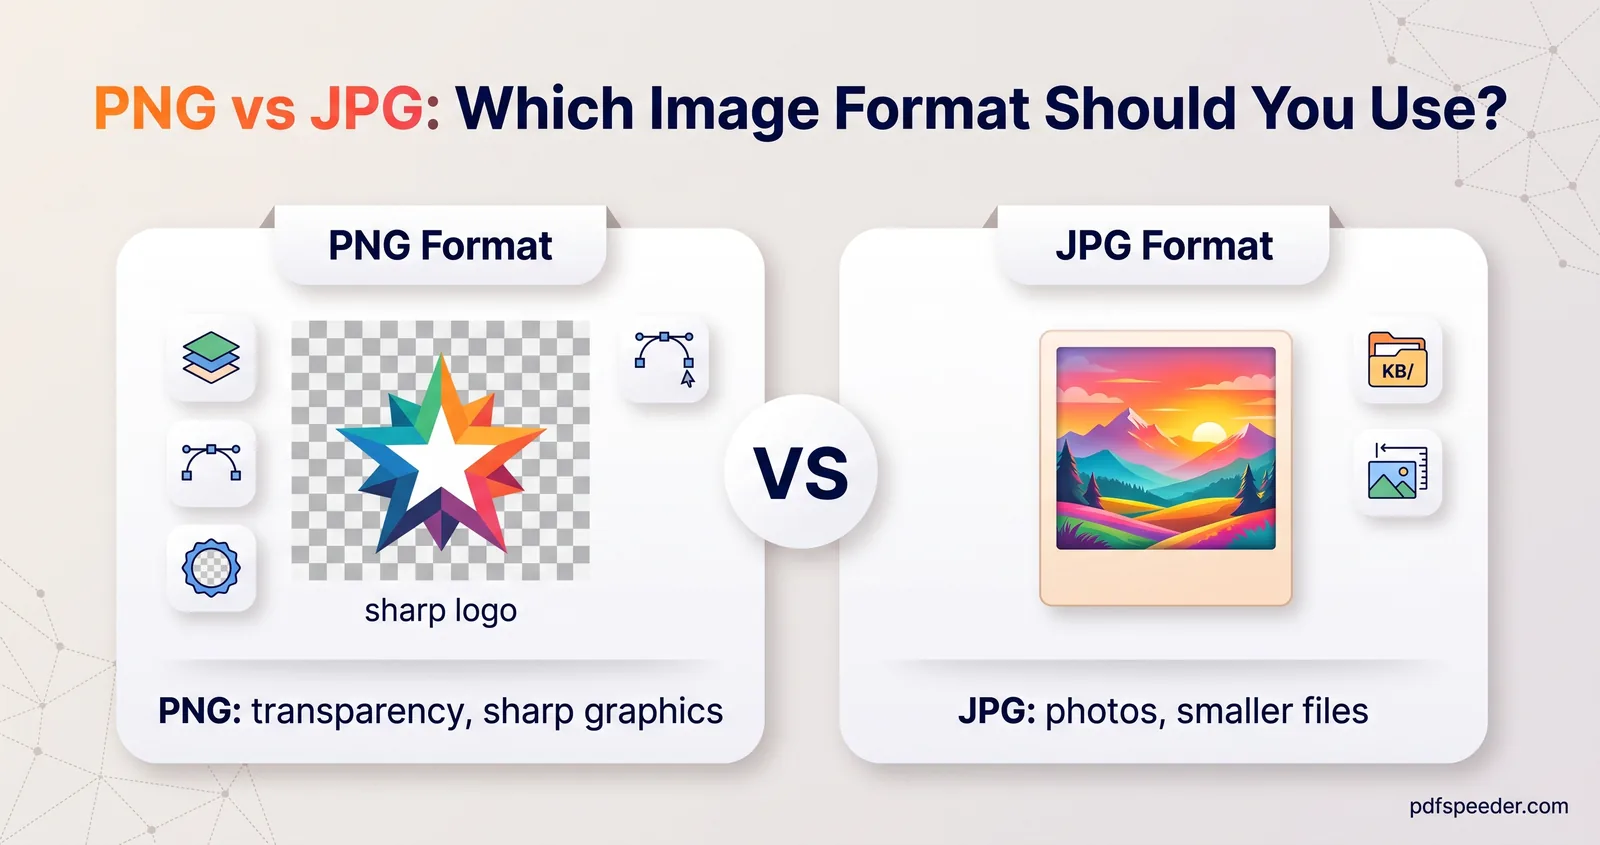
To convert PDF to JPG in high quality, set the resolution to 300 DPI for anything that will be printed and 150 to 200 DPI for screens, keep the JPG quality around 90%, and switch to PNG for pages that are mostly text or line drawings. Resolution decides how many pixels each page gets, so it matters far more than the quality slider. The tables below turn DPI into exact pixel sizes for A4 and Letter pages, so you can choose a setting for wherever the image is going.
On this page
What "high quality" means for a page image
Most PDF pages made on a computer are drawn with vectors: the text and lines are stored as shapes, so they stay sharp at any zoom. Converting a page to JPG freezes it at a fixed number of pixels, and two settings decide how good that frozen copy looks:
- Resolution (DPI), short for dots per inch, sets the pixel count. Take a capital letter in 10-point text: it's about 7 pixels tall at 72 DPI, which looks blurry, 15 pixels at 150 DPI and 29 pixels at 300 DPI, which stays crisp even when printed.
- JPG quality sets how hard the image is compressed. Lower values make smaller files, at the cost of smudges around sharp edges such as letters.
Scanned PDFs are different, because each page is already a photo with its own resolution. Exporting a 200 DPI scan at 600 DPI makes the file far bigger without adding any detail, so for a scan, match the resolution it was scanned at (often 200 or 300 DPI). That's how you go from PDF to JPG without losing quality: as many pixels as the destination needs, and no more.
Pick the right DPI (with pixel sizes)
A page's pixel size is simply its size in inches multiplied by the DPI. An A4 page is 8.27 × 11.69 inches and US Letter is 8.5 × 11 inches:
| Resolution | A4 page | US Letter page | Good for |
|---|---|---|---|
| 72 DPI | 595 × 842 px | 612 × 792 px | Thumbnails and previews |
| 96 DPI | 794 × 1123 px | 816 × 1056 px | Quick on-screen viewing |
| 150 DPI | 1240 × 1754 px | 1275 × 1650 px | Phones, chat apps, email, websites |
| 200 DPI | 1654 × 2339 px | 1700 × 2200 px | Slides and zooming in on screen |
| 300 DPI | 2480 × 3508 px | 2550 × 3300 px | Printing at full size, OCR |
| 600 DPI | 4961 × 7016 px | 5100 × 6600 px | Archiving and enlarging fine detail |
The converter may give a pixel more or less, depending on how the PDF records its page size. More important is how fast the numbers grow: doubling the DPI quadruples the pixels, so a 300 DPI page has four times the pixels of a 150 DPI one, with a file size and memory use to match.
Settings by destination
| Where the image is going | Resolution | JPG quality | Why |
|---|---|---|---|
| WhatsApp, email, viewing on a phone | 150 DPI | 80 to 85% | 1240 pixels is about the width of a modern phone screen |
| A portal with a KB limit | 100 to 150 DPI | 70 to 85% | Small enough to pass, still readable; try Grayscale for documents |
| Slides | 150 to 200 DPI | 90% | A full-height A4 page needs about 92 DPI on a 1080p screen and 185 DPI on a 4K one |
| Printing | 300 DPI | 90 to 95% | The standard for sharp prints at the original size |
| Archiving or enlarging | 600 DPI | 95% | Keeps fine print and thin lines; expect large files |
How to convert PDF to JPG in high quality, step by step
PDF to JPG renders the pages in your browser, so the PDF isn't uploaded anywhere:
- Open PDF to JPG and add your PDF, up to 200 MB.
- Choose the pages. All of them start selected; click thumbnails to change that, or use the All, None, Invert, Odd, Even, First 10 and Last 10 buttons. To save a single PDF page as an image, select just that one.
- Set Resolution with the slider, anywhere from 72 to 600 DPI. It starts at 200.
- Set Image quality between 40% and 100%. It starts at 90%.
- Pick Color or Grayscale, and a Filename pattern. The
001.jpgpattern keeps pages in order when a folder sorts by name. - Check the Estimated output size, then select Convert to JPG. Download the images one by one, all at once or as a ZIP.
Each conversion counts as one task in the free daily allowance: 2 tasks a day without an account, 3 with a free account, reset at 00:00 UTC (05:30 IST). On a phone, stay at 300 DPI or below, because very large images take a lot of memory to render.
On a Mac, Preview can also save a page as an image: Apple's guide to converting file types in Preview explains File > Export with JPEG or PNG as the format, plus a quality setting for JPEG. A screenshot is the quick option elsewhere, but it only captures your screen's pixels, which is usually less than 150 DPI for a whole page.
JPG or PNG for text and diagrams?
JPG was designed for photographs. It blurs fine detail in ways the eye barely notices in a photo, but those same tricks leave faint smudges around the crisp edges of letters and lines. PNG is lossless: every pixel stays exactly as rendered.
To see what that costs, we rendered a sample A4 page of typed text, and a copy of it made to look like a scan, then encoded both with a browser's built-in image encoders (in Microsoft Edge), which is how our converters create the files:
| Page | Resolution | JPG at 90% | JPG at 75% | PNG |
|---|---|---|---|---|
| Typed text | 150 DPI | 365 KB | 267 KB | 374 KB |
| Typed text | 300 DPI | 969 KB | 713 KB | 835 KB |
| Scan-like copy | 150 DPI | 424 KB | 226 KB | 2,472 KB |
| Scan-like copy | 300 DPI | 1,406 KB | 687 KB | 9,535 KB |
For clean digital text, PNG cost about the same as a 90% JPG at 150 DPI and was smaller at 300 DPI, with perfectly sharp edges. For the scan-like page, PNG came out six to seven times bigger, because paper texture and noise are exactly what lossless compression handles worst. So the answer to PDF to PNG or JPG is:
- PNG for typed documents, spreadsheets, charts, diagrams and screenshots. PDF to PNG has the same resolution slider, page picker and filename patterns, plus a Transparent background for design work.
- JPG for scans, photos and image-heavy pages, and whenever a portal insists on JPG.
Make the images smaller after converting
If a high-quality image is too big for where it's going, cut it down in the order that hurts least:
- Lower the resolution first. Going from 300 to 150 DPI leaves a quarter of the pixels, the biggest saving by far, and text at 150 DPI still reads well on any screen.
- Then lower the quality. Between 75% and 85% saves a lot over 90%, with little visible change.
- Then compress to an exact size. Image Compressor works in your browser: choose Target size, enter the limit, set Output format to JPG, and optionally cap the Max dimension, for example at 1920 pixels.
Our guide to reducing image size in KB covers exact portal limits, including the difference between a KB of 1,000 and 1,024 bytes. And if you later need the images back in a single file, see our guide to combining multiple images into one PDF.
Next time, decide where the image is going before you convert: 150 DPI for screens, 300 for print, and PNG whenever the page is mostly text.
Frequently asked questions
What DPI should I use to convert a PDF to JPG?
Use 150 DPI for screens, chat apps and email, 200 DPI for slides, and 300 DPI for printing. Go up to 600 DPI only for archiving or enlarging fine detail.
Is PDF to JPG at 300 DPI good enough for printing?
Yes. At 300 DPI an A4 page becomes 2480 × 3508 pixels, enough for a sharp print at the original size.
Why does my converted JPG look blurry?
The resolution was too low, the quality was set very low, or the PDF itself is a low-resolution scan. Raise the DPI to 200 or 300, keep quality near 90%, and remember that no setting adds detail a scan never had.
Should I convert my PDF to PNG or JPG?
PNG for typed text, charts and diagrams, where it stays perfectly sharp at a similar size. JPG for scans and photos, where PNG files grow several times larger.
Can I convert just one page of a PDF to an image?
Yes. In PDF to JPG, select only that page's thumbnail before converting, and you'll get a single image.