How to Combine Multiple Images Into One PDF (In the Right Order)
Combine multiple images into one PDF in the right order: choose page size and margins, fit receipts several to a page, fix sideways photos, and keep it small.

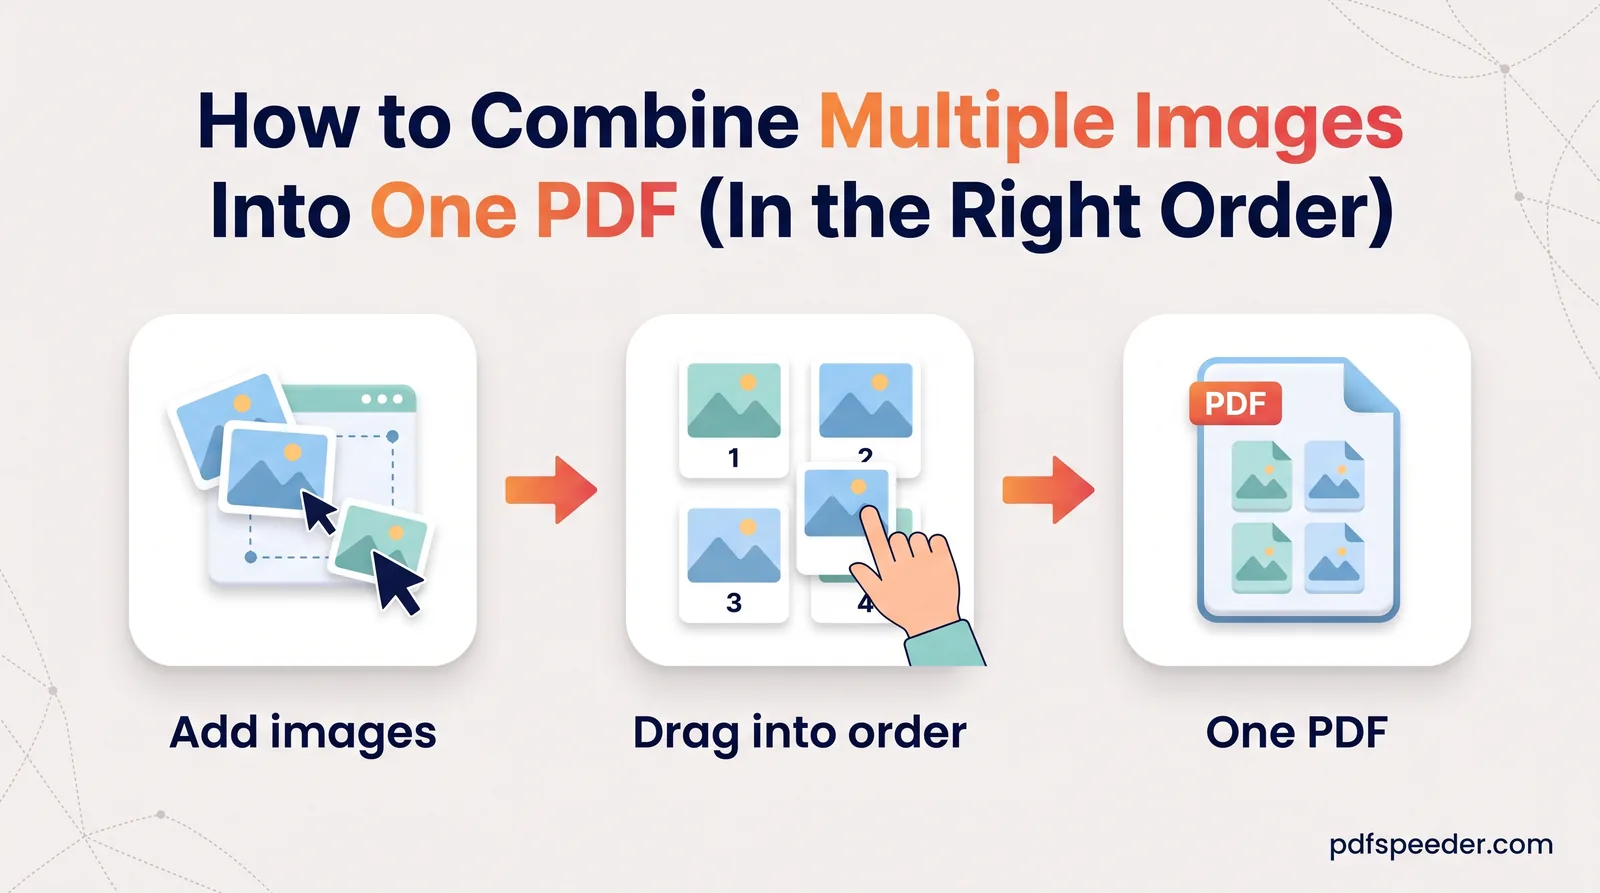
To combine multiple images into one PDF, add them all to an image-to-PDF converter, put them in order, choose a page size and create a single file. That part takes a minute. The details take a little longer: the order your files arrive in, whether each page should match the photo or a sheet of A4, how many images share a page, and whether the finished file is small enough for the form you're uploading it to.
On this page
Before you start: gather and name your images
Five minutes of preparation saves you from reshuffling thumbnails later:
- Put everything in one folder, so you can select all the images in one go.
- Crop out the background. A converter places the whole photo on the page, tabletop and fingers included. Your phone's photo editor can trim each image to the edges of the paper.
- Name the files in order, with leading zeros:
01-aadhaar-front.jpg,02-aadhaar-back.jpgand so on. Without the zero, a computer sorting by name puts10.jpgbefore2.jpg. - Check the format. Our converter reads JPG, PNG, WebP, GIF, BMP and AVIF. iPhones save photos as HEIC by default; our guide to converting a photo to PDF on your mobile shows the camera setting that switches new photos to JPEG.
Good names help even though the tool doesn't sort by them: every thumbnail shows its file name under a position number, so a wrong order jumps out.
How to combine multiple images into one PDF, step by step
These steps use JPG to PDF, which builds the PDF in your browser, so the images never leave your device. It merges JPG files, PNGs and other images into one PDF the same way on a phone or a computer.
- Tap or click Select Images, or drop the files onto the page. You can add many at once, each up to 60 MB.
- Check the order. Images join in the order your device hands them over, which isn't always alphabetical. Drag a thumbnail to move it, or select Reverse if the whole set arrived back to front.
- Set the page size, margins and images per page, as described in the next section.
- Choose Original or Compressed quality (see the last section if you have a size limit).
- If the PDF holds ID documents, you can tick Password-protect the PDF and enter a password.
- Select Create PDF, check the preview of the finished file, then Download PDF. Several images are saved as
images.pdf.
Tip: On a phone, dragging small thumbnails can be fiddly. Every image you add later with Add more joins the end of the list, so adding the pictures one at a time, in order, gives you the sequence you want without any dragging.
Each PDF you create counts as one task in the free daily allowance: 2 tasks a day without an account, 3 with a free account, reset at 00:00 UTC (05:30 IST).
Page size, margins and images per page
Fit to image or a standard page?
The default, Fit to image, makes each page exactly the shape of its photo, with no border. That looks clean on screen, but the physical page size comes from the photo's pixel count and the Resolution setting, so a 12-megapixel phone photo (4032 × 3024 pixels) becomes a very large page:
| Resolution setting | Page size for a 4032 × 3024 photo |
|---|---|
| 72 DPI | 1,422 × 1,067 mm |
| 96 DPI (the fallback when a photo doesn't record one) | 1,067 × 800 mm |
| 150 DPI | 683 × 512 mm |
| 300 DPI | 341 × 256 mm |
An A4 sheet is 210 × 297 mm. If the PDF will be printed, or a form expects standard pages, choose A4 (or US Letter, Legal, A3 or A5) instead. Standard sizes also switch on the orientation setting, where Auto follows the first image on each page, and the images-per-page setting.
Margins add white space around each image: Small is about 7 mm, Medium about 14 mm and Large about 23 mm. For Image fit, keep Fit, which shows the whole image. Fill crops the image to fill its space, and Stretch distorts it, which you never want for a document.
How big each image prints
With a standard page you can put 1, 2, 4 or 6 images on each sheet. Here's the space each one gets on A4 with Small margins, and what that means for a 4:3 photo and for a long 80 × 200 mm shop receipt:
| Images per page | Orientation | Space per image | A 4:3 photo prints at | An 80 × 200 mm receipt prints at |
|---|---|---|---|---|
| 2 | Portrait | 196 × 141 mm | 189 × 141 mm | 57 × 141 mm |
| 2 | Landscape | 141 × 196 mm | 141 × 106 mm | 78 × 196 mm |
| 4 | Portrait | 98 × 141 mm | 98 × 73 mm | 57 × 141 mm |
| 4 | Landscape | 141 × 98 mm | 131 × 98 mm | 39 × 98 mm |
| 6 | Portrait | 98 × 94 mm | 98 × 73 mm | 38 × 94 mm |
| 6 | Landscape | 94 × 98 mm | 94 × 71 mm | 39 × 98 mm |
Several receipts on one page
Receipts are tall and narrow, so orientation matters more than you'd expect. Two per page in landscape keeps each receipt at 98% of its real size. Four per page in portrait shrinks them to 71%, which is still readable, while six per page takes them below half size: text 3 mm tall on the paper prints at about 1.4 mm. For an expense claim with many receipts, four per page in portrait is a sensible balance, and Fit keeps every receipt whole within its space.
For the front and back of an ID card, two per page in portrait puts both sides on one A4 sheet at a size that's easy to read.
Fix sideways or upside-down photos
Phones usually save a photo in the sensor's orientation and record which way up it should be shown in a hidden tag. JPG to PDF reads that tag and straightens JPEG photos automatically, so most sideways-looking photos come out upright without you doing anything.
For a picture that really was taken sideways, select the rotate button on its thumbnail, which turns it 90° clockwise with each click, or use Rotate all when the whole batch is the same. Check the preview before downloading: it shows the finished pages exactly as they'll be saved.
One side effect matters if you have a size limit. A photo that has to be turned, automatically or by you, can't go into the PDF untouched, so it's re-encoded as a high-quality JPEG, which can come out larger than the original file. If every kilobyte counts, straighten and shrink the photos first with Image Compressor, as described below.
Keep the PDF small enough to upload
Quality has two settings, and they behave very differently:
- Original puts JPEG and PNG files into the PDF byte for byte, as long as they're upright and not cropped by Fill. When we built PDFs this way with pdf-lib, the library JPG to PDF uses, the file came to the images' total plus about 1 KB, plus roughly 0.4 KB for each extra page. WebP, AVIF, GIF and BMP images are stored as lossless PNG instead, which is usually much bigger for a photo.
- Compressed re-encodes every image as a JPEG at 72% quality and shrinks any image longer than 2,200 pixels on its longest side. It's quick, but you don't control the final size. JPEG also can't store transparency, so in this mode transparent areas are filled with white. When you need them to stay transparent, as for a logo or signature you'll place over something else, keep Original or use PNG to PDF, which keeps transparent backgrounds by default.
To hit an exact limit, shrink each image first, then combine them on Original:
Work out a budget per image, leaving a small safety margin:
target per image = (limit − 1 KB − 0.4 KB × (images − 1) − margin) ÷ images
example: (500 KB − 1 KB − 1.2 KB − 10 KB) ÷ 4 images = 121.9 KB each
Open Image Compressor, choose Target size, enter your budget and set Output format to JPG. It runs in your browser, applies each photo's orientation as it re-encodes, and strips location data from the images.
Download the compressed images and combine them in JPG to PDF with quality on Original, so nothing is compressed a second time.
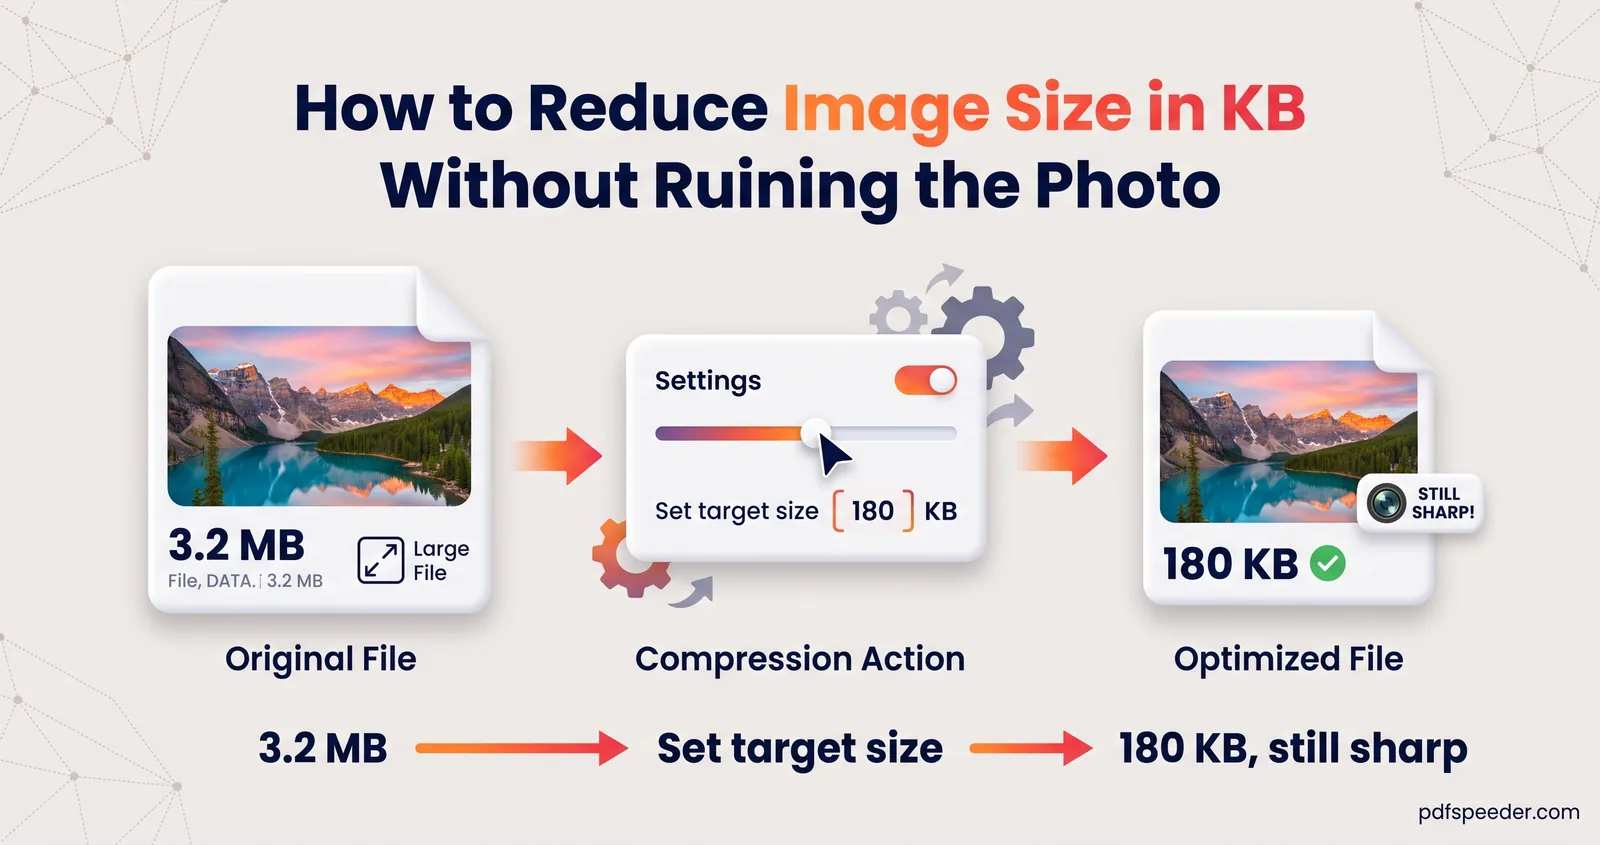
Our guide to reducing image size in KB explains how to choose a target that keeps text readable, and how portals count kilobytes.
Ready to try it? Name your images in order, open JPG to PDF, choose A4 if the file will be printed or submitted, and check the size before you upload.
Frequently asked questions
How do I combine multiple images into one PDF for free?
Add them all to JPG to PDF, set the order and page size, and select Create PDF. Each PDF counts as one task in the free daily allowance, and the images aren't uploaded.
Can I put more than one picture on a page?
Yes. Choose a standard page size such as A4, then set Images per page to 2, 4 or 6. Fit to image always gives one image per page.
Why are my images in the wrong order?
Files join in the order your device passes them over, which isn't always by name. Drag the thumbnails, use Reverse, or add the images one at a time in order.
Why is my combined PDF so large?
In Original quality each photo goes in at full size, and WebP or AVIF photos are stored as larger PNG images. Compress the photos to JPG at a target size first, or choose Compressed quality.
Does combining images into a PDF reduce their quality?
Not on Original: upright JPEG and PNG files are embedded exactly as they are. Compressed quality, Fill cropping and rotated photos involve re-encoding, which loses a little detail.