How to Resize Multiple Images at Once (Free Batch Resize)
Resize multiple images at once in your browser or with built-in tools: the right mode for mixed photos, resizing and compressing in one go, and ZIP downloads.

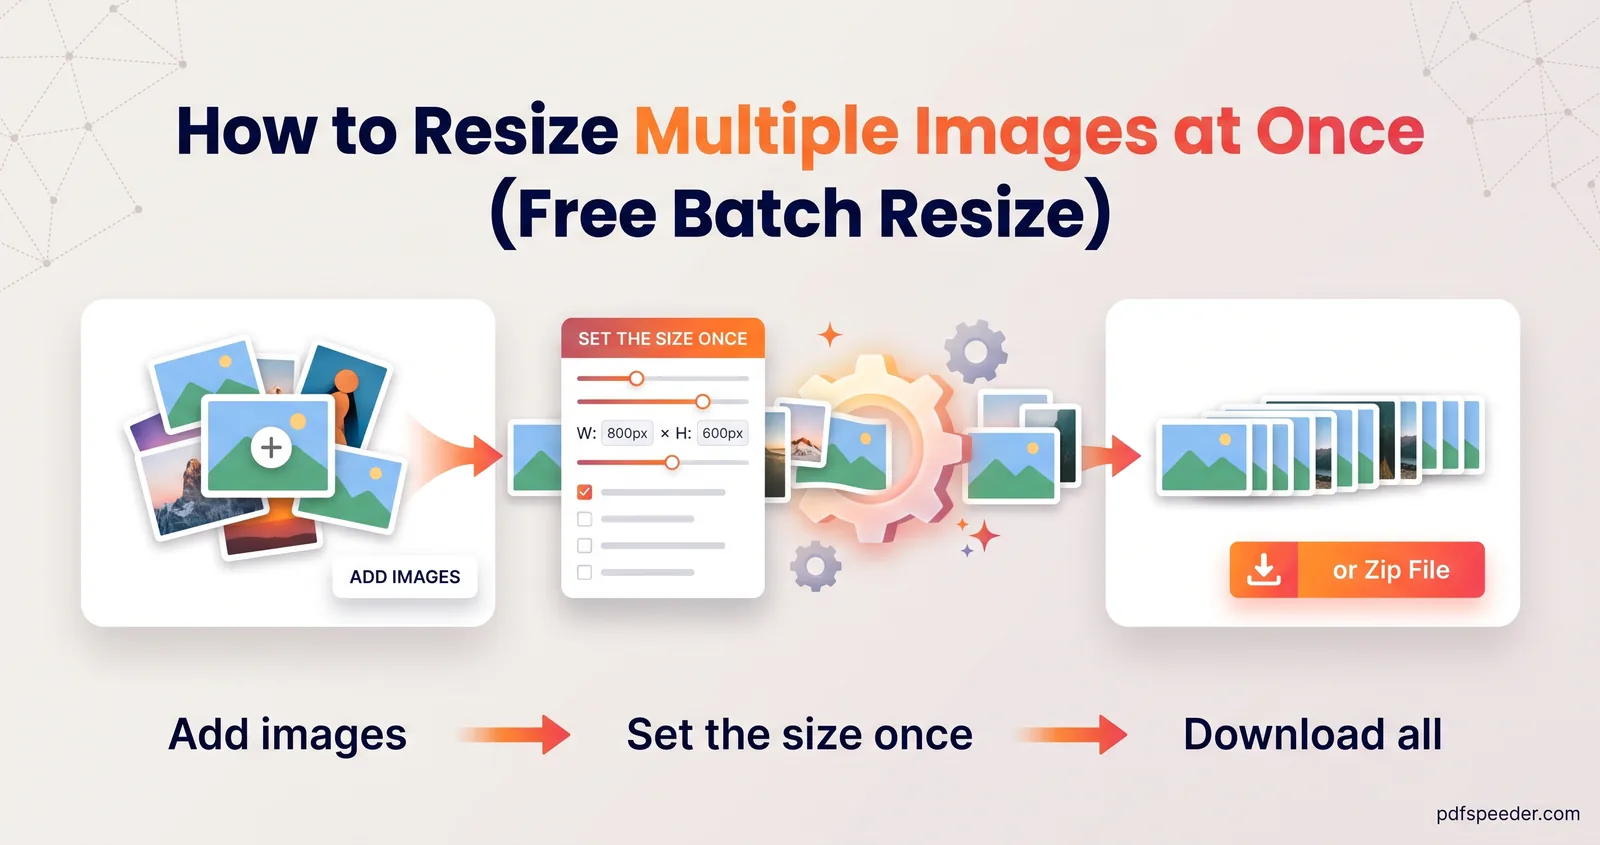
To resize multiple images at once, add them all to a batch resizer, choose one rule that suits every photo (usually a maximum length for the longest side), and download the results together as a ZIP. Our Image Resizer, Image Compressor and Bulk Converter all do this in your browser, while Windows has PowerToys Image Resizer and Macs have Preview. The rule you pick matters more than the tool, especially when a batch mixes portrait and landscape shots.
On this page
Pick the right batch mode for mixed photos
One exact size works for one shape. Apply 1600 × 1200 to a folder that also holds upright photos and each of those has to be cropped, padded or squashed to fit. So before you batch resize images, decide what should happen to the photos that don't match.
Here's what each approach does to a 4000 × 3000 landscape photo and a 3000 × 4000 portrait one:
| Approach | Landscape 4000 × 3000 becomes | Portrait 3000 × 4000 becomes | Good for |
|---|---|---|---|
| Longest side 1600 (Fit within 1600 × 1600) | 1600 × 1200 | 1200 × 1600 | Event photos, websites, email |
| Exact 1000 × 1000, Fit with padding | 1000 × 750 photo, 125 px bands above and below | 750 × 1000 photo, 125 px bands either side | Product tiles that must all be square |
| Exact 1000 × 1000, Crop to fill | Square, a quarter of the width trimmed | Square, a quarter of the height trimmed | Thumbnails and profile pictures |
| Scale 50% | 2000 × 1500 | 1500 × 2000 | Shrinking a set that's already consistent |
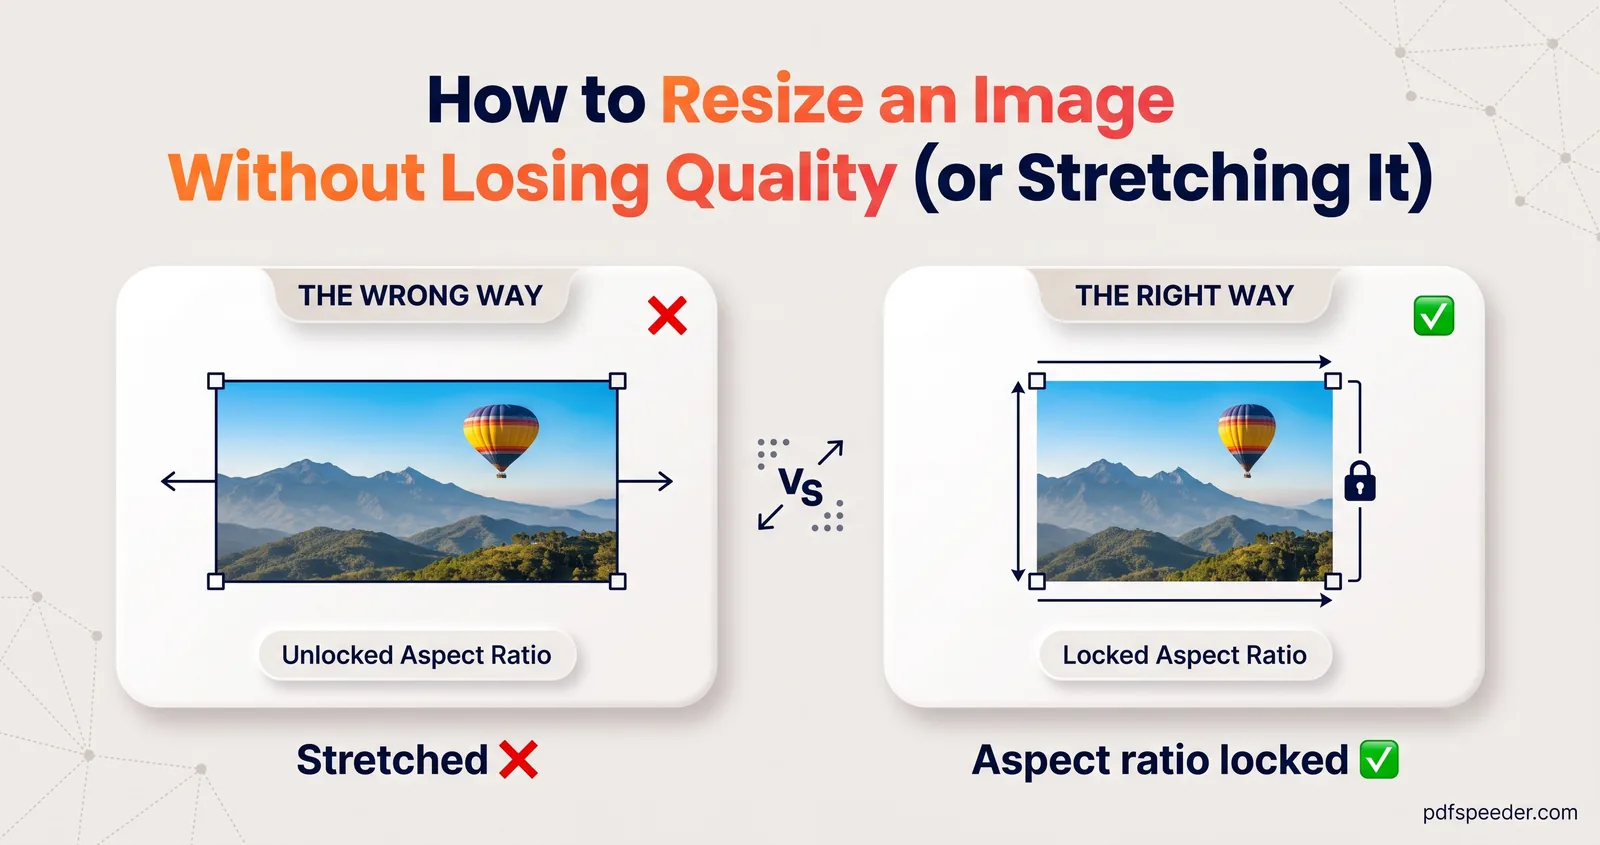
The longest-side rule is the safe default: nothing is cut off, nothing is padded, and no image ends up larger than the limit in either direction. Choose padding when a shop or catalogue needs identical squares, and cropping only when the subject sits in the middle of every frame. Our guide to resizing an image without losing quality goes deeper into crop versus fit for single images.
How to resize multiple images at once in your browser
Our Image Resizer works as a bulk image resizer without uploading anything: the photos are processed on your own device, one after another.
- Add the whole set. Select or drop all the images together: JPG, PNG, WebP, GIF, BMP or AVIF, up to 80 MB each. To resize all photos in a folder, open the folder in the file picker and press Ctrl+A (Command+A on a Mac). Use Add more for files from another folder.
- Choose Fit within. Type 1600 in both boxes, or tap one of the quick sizes: 640, 1024, 1280, 1920 or 2560.
- Pick the format and quality. JPG suits photos and almost every upload form. Quality starts at 92; 80 to 85 makes noticeably smaller files with little visible change.
- Leave Allow enlarging off. Then any photo already smaller than the limit stays at its own size instead of being blown up.
- Select Resize. The results list each image's old and new dimensions and file sizes, with a before/after slider for checking detail.
- Select Download all (ZIP). You get one file,
resized-images.zip. To change a setting, use Adjust and run the batch again without re-adding the photos.
For square product tiles, use Exact size instead: switch off the link between width and height, enter 1000 and 1000, choose Fit with padding, and keep Padding / bg colour on white (the default) or pick your brand colour. If you keep the link switched on in a mixed batch, photos shaped differently from the first one are padded rather than cropped.
Tip: iPhones save photos as HEIC by default, and these tools accept JPG, PNG, WebP, GIF, BMP and AVIF. To have new photos saved as JPG, choose Settings > Camera > Formats > Most Compatible, as Apple's guide to HEIF and HEVC media describes.
Resize and compress in one pass
Resizing usually shrinks files a lot on its own, but when there's also a size limit in KB, do both in a single run:
- Image Compressor: set Max dimension to 1920 px, 1280 px or a custom value, which caps the longest side, then choose Quality (High 90, Balanced 80, Small 60, Tiny 40) or Target size, which squeezes every image under a limit such as 200 KB. Leave Output format on JPG if a site needs JPG, because the default Smart option picks whichever of JPEG, WebP or AVIF comes out smallest. It's the quickest way to bulk compress images for an upload portal.
- Bulk Converter: takes up to 100 files at a time and changes their format while it resizes them, with Max longest side, Max width or Scale (%) and an image quality slider that starts at 85%. It can also turn the whole set into PDFs, one per image.
To resize images for a website in bulk, a longest side of 1600 to 1920 pixels at quality 80 covers most full-width layouts, and smaller sizes suit thumbnails and blog inline images. If the site or your developer specifies sizes, follow those. For hitting an exact KB figure, our guide to reducing image size in KB explains how target-size compression works.
| Image Resizer | Image Compressor | Bulk Converter | |
|---|---|---|---|
| Best at | Exact sizes, mixed shapes, print DPI | KB limits | Format changes, images to PDF |
| Resize options | Exact size, Fit within, Scale %, Presets | Max dimension (longest side) | Max longest side, Max width, Scale % |
| Size control | Quality (starts at 92) | Quality or Target size per image | Quality (starts at 85%) |
| Output | Original, JPG, PNG, WebP, AVIF | Smart, original, JPG, WebP, PNG, AVIF | JPG, PNG, WebP, PDF |
| Files per batch | No fixed limit | No fixed limit | Up to 100 |
AVIF appears only when your browser can create it. All three run in your browser, so nothing is uploaded, and none of them uses up the daily free tasks. For big reductions, say a 6000-pixel photo down to 600, the Image Resizer and Image Compressor shrink in stages, which keeps fine detail cleaner than a single jump.
Built-in options: PowerToys and Preview
Windows: PowerToys Image Resizer
Microsoft's free PowerToys adds a batch resizer to File Explorer. After installing it, select the images, right-click and choose Resize with Image Resizer, then pick a size preset or enter a custom one. Each size can be set to Fit (whole picture, no cropping), Fill (crops to fill) or Stretch.
Two settings are worth knowing. Ignore the orientation of pictures applies the smaller number to each photo's shorter side, so portrait and landscape shots come out the same size. And leave the option to resize the original pictures unticked, so you get copies; by default they're named like example (Small).png. Microsoft's Image Resizer documentation lists every option, including a command-line version.
Mac: Preview
Select the photos in Finder and open them together, so they share one Preview window. Then, as Apple's guide to resizing images in Preview explains, select them all in the window's sidebar and choose Tools > Adjust Size. Pick a size from Fit into, or type a width with Scale proportionally ticked, and every selected image is resized. Preview changes the files you opened rather than making copies, so duplicate the folder first.
Naming, ZIP files and keeping originals safe
The browser tools never touch your originals; each result is a new file you download. The Image Resizer's copies also carry no EXIF data, so the GPS location your phone recorded is gone too, as our guide to removing location from a photo explains. Their naming differs, which matters when the files are going somewhere with strict names:
- Image Resizer adds the new size to each name, so
holiday-01.jpgbecomesholiday-01-1600x1200.jpg. Spaces and unusual characters become underscores. - Image Compressor keeps the name, with underscores for spaces, but the extension changes if the format does, for example to
.webpunder Smart. - Bulk Converter keeps names exactly as they were, spaces included, swaps the extension and adds (1), (2) to any duplicates.
A ZIP holds the whole batch in one download: resized-images.zip, compressed-images.zip or converted-files.zip. On Windows, right-click it and choose Extract All; on a Mac, double-click it; on a phone, open it in the Files app. Then compare a few results with the originals at full size before you delete anything, and keep the originals of photos that matter, because detail removed by resizing can't be recovered later.
Next step: open the Image Resizer, add the whole folder, choose Fit within with your longest-side limit, and download the batch as one ZIP.
Frequently asked questions
How many images can I resize at once?
The Bulk Converter handles up to 100 files per batch. The Image Resizer and Image Compressor have no fixed limit, but they work in your device's memory, so split very large sets into batches of a few hundred.
Can I resize photos of different sizes to exactly the same size?
Yes. Use Exact size with the link switched off and choose Fit with padding to keep every photo whole, or Crop to fill to trim them into the same frame.
Does batch resizing reduce image quality?
Shrinking removes pixels, but at quality 80 to 92 the results look sharp at their new size. Resize from the originals each time rather than resizing already-resized copies.
Are my photos uploaded when I resize them in bulk?
No. The Image Resizer, Image Compressor and Bulk Converter all run in your browser, so the photos never leave your device.
What's the best size for website images in bulk?
A longest side of 1600 to 1920 pixels at quality 80 suits most full-width images, and smaller sizes suit thumbnails. Your site's own guidelines take priority if it has them.