How to Resize an Image Without Losing Quality (or Stretching It)
Resize an image without losing quality: why shrinking is safe but enlarging isn't, how to pick crop, fit or stretch, and pixel sizes for social, web or print.

To resize an image without losing quality, make it smaller rather than bigger, keep its aspect ratio (or decide deliberately between cropping and padding), and save it once, from the original, at a high quality setting. Shrinking discards pixels you don't need and looks just as sharp at the new size; enlarging can't add detail the camera never captured. This guide shows how to change image dimensions to exact pixels without distortion, and which sizes to use for social media, the web and print.
On this page
Shrinking vs enlarging: what's possible
Shrinking is safe. When you scale a 4032 × 3024 phone photo down to 1080 × 810, each new pixel summarises a small patch of old ones. Done carefully, the result looks as crisp at its new size as the original did at its own.
Enlarging can't create detail. Scale a 640 × 480 image to 1920 × 1440 and you have nine times as many pixels, but no new information. The software fills the gaps by blending neighbouring pixels, so edges go soft and small text turns fuzzy.
So, can you upscale an image without losing quality? Not in the strict sense. AI upscalers can guess plausible detail, which is fine for a casual picture, but the detail is invented, so don't use it for documents, ID photos or anything that has to be accurate. Better fixes, in order: find the original or a larger copy, export again from the source file, rescan at a higher resolution, or retake the photo.
Keep the aspect ratio (or choose how to break it)
The aspect ratio is the image's shape: width divided by height. Most phone photos are 4:3, such as 4032 × 3024 pixels. To keep that shape at a new width, scale the height by the same factor:
new height = new width × original height ÷ original width
example: 1080 × 3024 ÷ 4032 = 810 pixels
When the target has a different shape, something has to give, and that's the whole crop vs fit vs stretch decision. Here's what each option does to a 4032 × 3024 photo resized to 1080 × 1350, a 4:5 portrait shape:
| Option | What it does | Result for 4032 × 3024 → 1080 × 1350 |
|---|---|---|
| Crop to fill | Scales the photo until it fills the frame, then trims the overflow evenly from the edges | Scaled to 1800 × 1350, with 720 pixels (40% of the width) trimmed from the sides |
| Fit with padding | Scales the photo until all of it fits, then fills the gap with a colour | Scaled to 1080 × 810, with 540 pixels of padding split above and below |
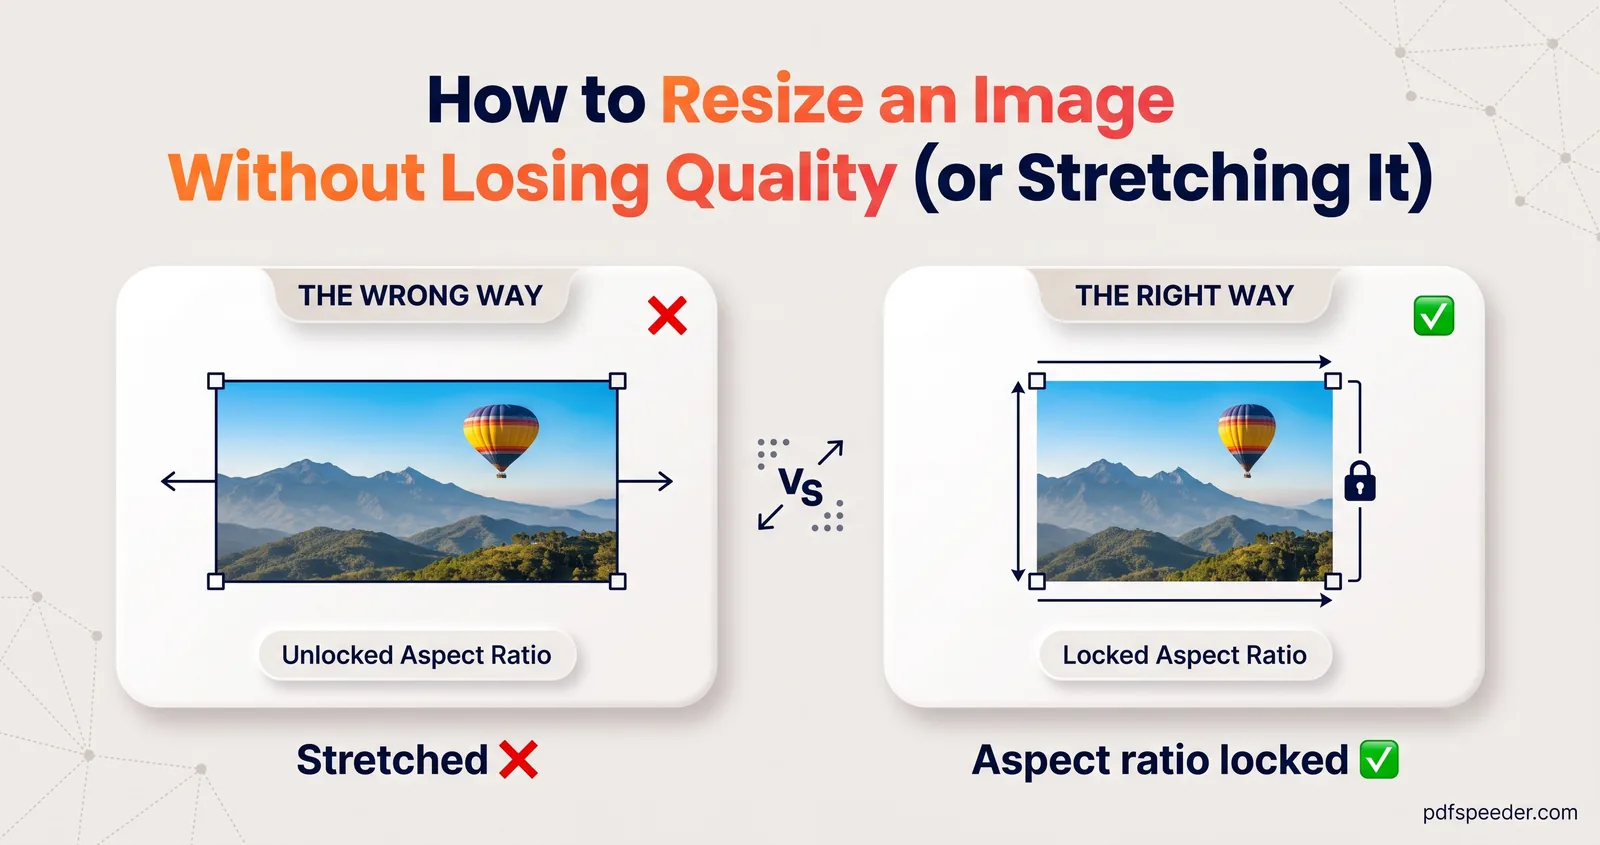
| Stretch | Forces the photo into the frame | Everything is squeezed sideways: shapes end up 60% as wide as they should be |
Choose crop when the subject sits in the middle and the edges don't matter, fit with padding when nothing may be cut off, such as a product shot, a document or artwork, and stretch almost never. To resize a photo without distortion, crop or pad; never stretch.
Resize to exact pixels step by step
Our Image Resizer runs in your browser, so your images aren't uploaded. To resize an image to exact pixels:
- Add your images. Drop in JPG, PNG, WebP, GIF, BMP or AVIF files, up to 80 MB each.
- Choose Exact size. The width and height start at your first image's own size, with the link between them switched on, so typing a new width fills in the matching height automatically.
- Change the shape if you need to. Switch the link off to enter both numbers, then pick an option under If the aspect ratio differs: Crop to fill (the default), Fit with padding or Stretch to exact size.
- Pick the output. Choose a Format (keep the original, or JPG, PNG, WebP, or AVIF if your browser can create it) and leave Quality at 92 unless you need a smaller file.
- Resize and check. Drag the before/after divider across fine detail, then download the image, named with its new size (such as
photo-1080x810.jpg), or the whole batch as a ZIP.
The other modes cover common jobs. Fit within shrinks each image to fit inside a box, such as 1280 × 1280, keeping its shape with no cropping or padding. Scale % resizes by a percentage, and Presets fill in popular social and passport sizes.
Allow enlarging is off by default, so images are never blown up by accident; the exception is Crop to fill, which enlarges a too-small image if that's the only way to fill the frame. In a batch with the link switched on, images shaped differently from the first are padded rather than cropped.
For a single image, your computer's built-in apps work too. In Paint on Windows, Resize has a Maintain aspect ratio option. On a Mac, Preview's Tools > Adjust Size has Scale proportionally, as Apple's guide to resizing images in Preview explains.
Settings to resize an image without losing quality
- Resize once, from the original. Every round of resizing softens a little, and every JPG save loses a little, so go straight from the original to the final size.
- Downscale in steps. Shrinking a large photo in one jump can skip over detail, leaving jagged edges and shimmering patterns on fine textures such as fabric or brickwork. The Image Resizer halves the image in stages with high-quality smoothing, averaging neighbouring pixels at each step, then makes the final resize.
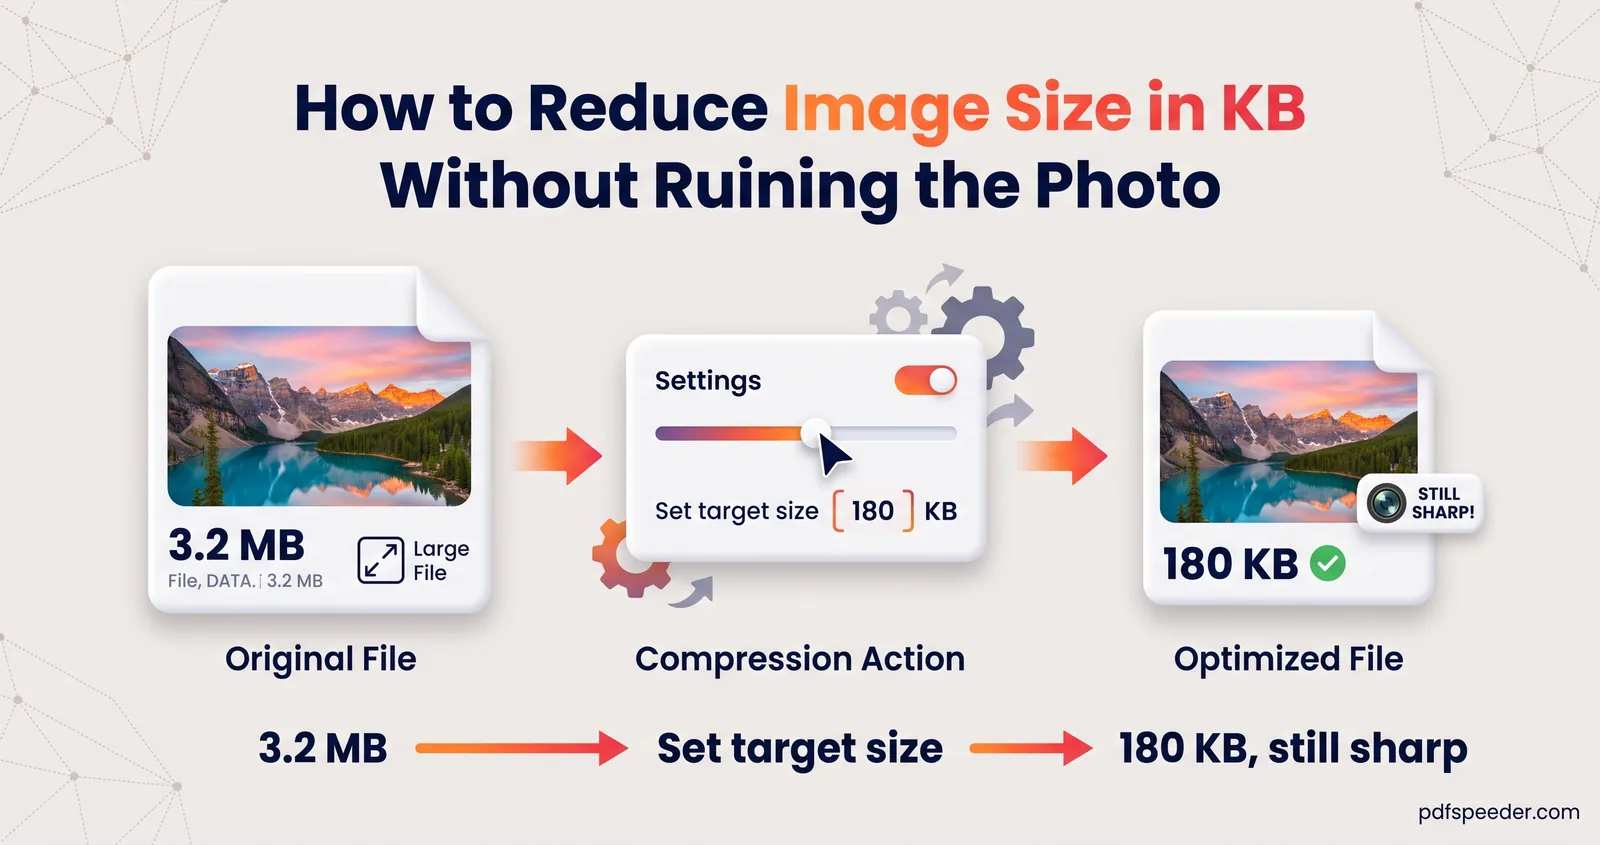
- Use a high quality setting. Keep JPG or WebP at 90-92 when sharpness matters. If a form caps the file size, resize first and then use the Image Compressor to hit the limit; our guide to reducing image size in KB explains why that order works best.
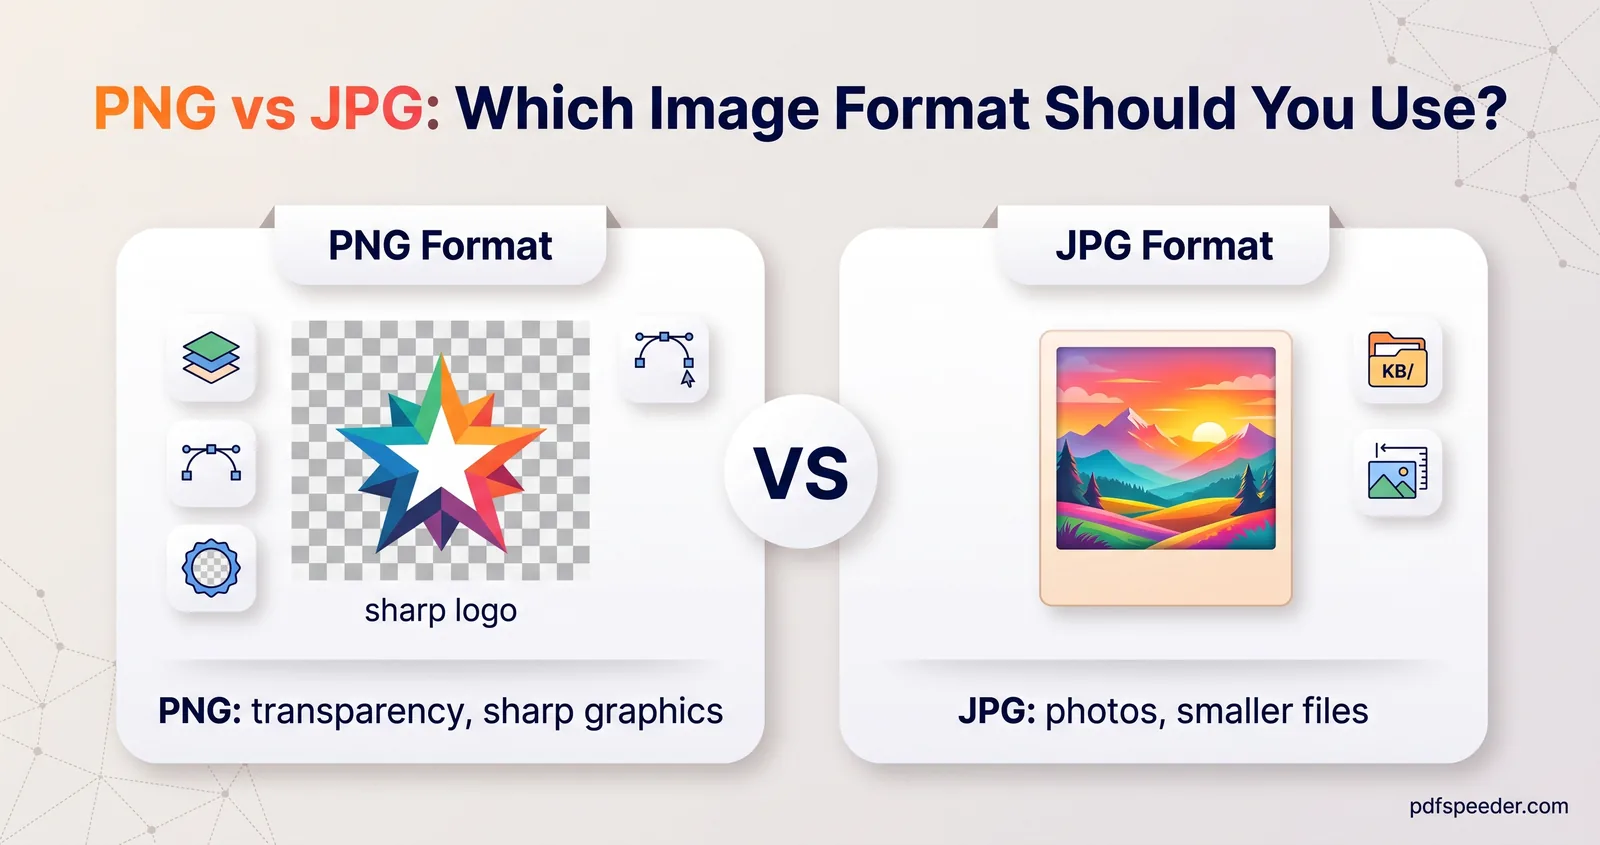
- Match the format to the content. JPG for photos; PNG for screenshots, text and logos, which stay crisp only in a lossless format. Our PNG vs JPG guide has test results for both.
- Don't worry about sideways photos. The resizer reads the orientation your phone recorded and keeps the result upright.
- Treat DPI as a print label. The Print DPI field stores the size a printer should use, without changing a single pixel, so it doesn't make an image sharper or smaller on screen.
Sizes for social media, web and print
Social media
The Image Resizer's presets include these sizes. Platforms change their recommendations from time to time, so check each one's help pages before a big campaign:
| Platform | Preset | Pixels |
|---|---|---|
| Post / Portrait / Story | 1080 × 1080 / 1080 × 1350 / 1080 × 1920 | |
| Post | 1200 × 630 | |
| X (Twitter) | Post | 1600 × 900 |
| YouTube | Thumbnail | 1280 × 720 |
| Post | 1200 × 627 |
Web
Resize to the largest width the image will actually be shown at, and double it if you want it crisp on high-density phone and laptop screens: an image displayed 800 pixels wide looks sharp at 1600. Anything bigger just slows the page down.
For print, multiply the size in inches by the resolution:
pixels = inches × DPI
example: a 6-inch side at 300 DPI = 1800 pixels| Print size | At 300 DPI | At 150 DPI |
|---|---|---|
| 4 × 6 inches | 1200 × 1800 px | 600 × 900 px |
| 5 × 7 inches | 1500 × 2100 px | 750 × 1050 px |
| A4 (210 × 297 mm) | 2480 × 3508 px | 1240 × 1754 px |
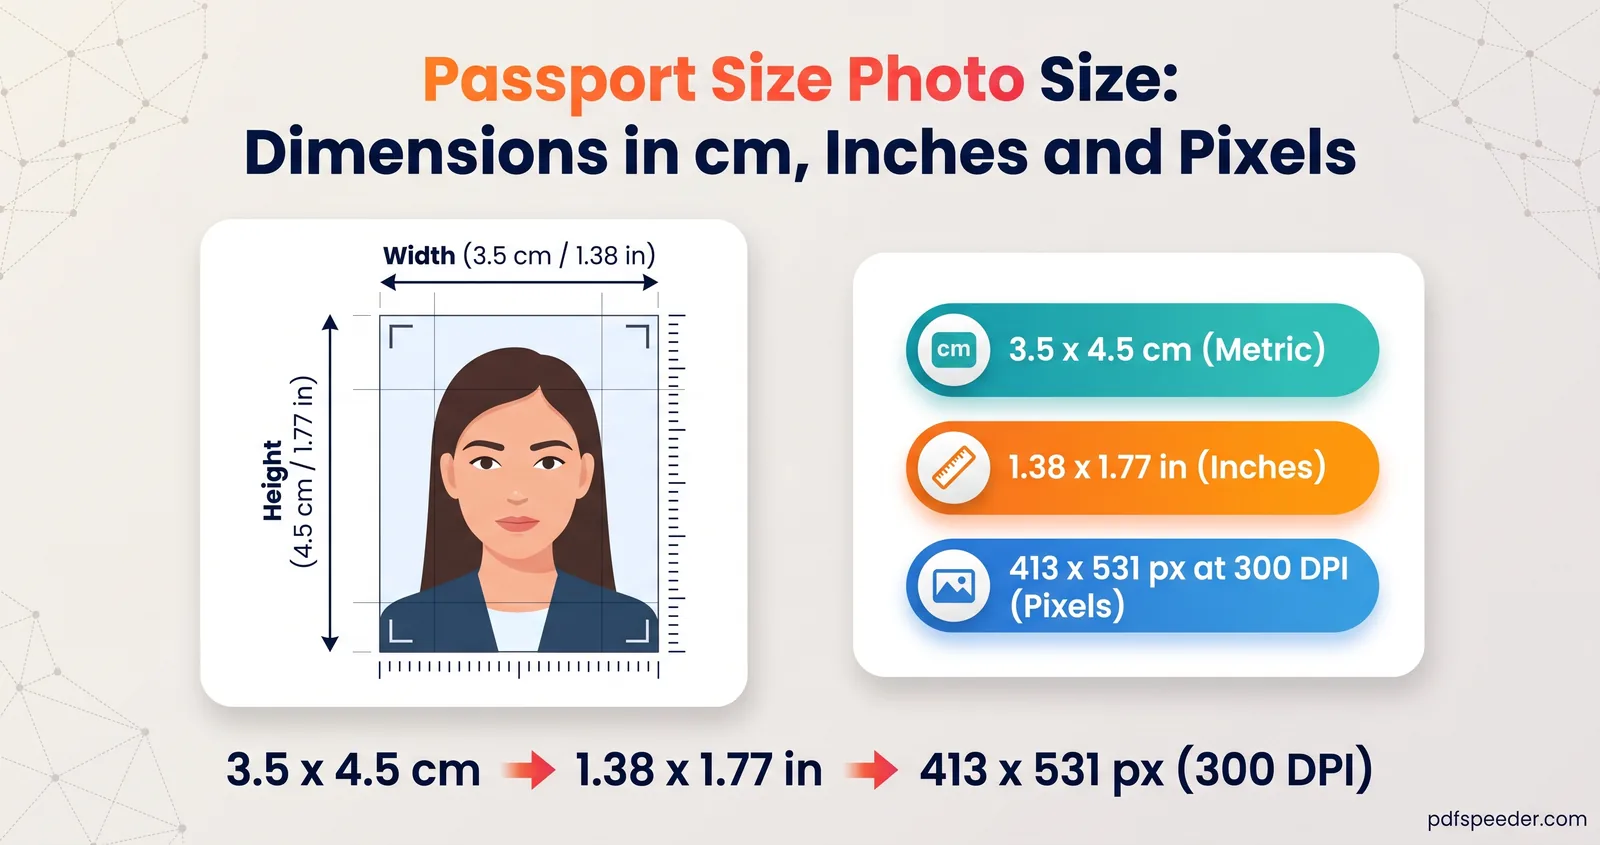
A 4032 × 3024 phone photo covers up to about 13.4 × 10.1 inches (34 × 25.6 cm) at 300 DPI, so for most prints you'll be shrinking, not enlarging. Passport and visa photos have their own rules; our passport photo size guide lists them.
Next step: open the Image Resizer, choose Exact size or a preset, decide between crop and padding for any shape change, and keep Allow enlarging switched off.
Frequently asked questions
Can I enlarge an image without losing quality?
Not truly. Enlarging spreads the same detail over more pixels, so edges soften; AI upscalers invent detail rather than recover it. Use a larger original whenever you can.
How do I resize a photo without stretching it?
Keep the aspect ratio locked, or, when the new shape differs, choose Crop to fill or Fit with padding instead of Stretch. The Image Resizer defaults to Crop to fill whenever the shape changes.
Does resizing an image reduce its file size?
Yes, shrinking reduces the pixel count, which usually cuts the file size sharply. To hit an exact limit in KB, resize first and then compress to a target size.
What's the difference between Fit within and Exact size?
Fit within shrinks the image to fit inside a box and keeps its shape, so one side may come out smaller than the box. Exact size always produces the precise width and height, cropping, padding or stretching to get there.
Does changing the DPI change the image size?
Not in pixels. DPI only tells a printer how large to print the image; the pixel dimensions, file size and on-screen sharpness stay the same.