How to Change the DPI of an Image (and When It Actually Matters)
Change the DPI of an image without touching its pixels, see when 300 DPI really matters, use the pixels-to-inches formula and check DPI on Windows or Mac.

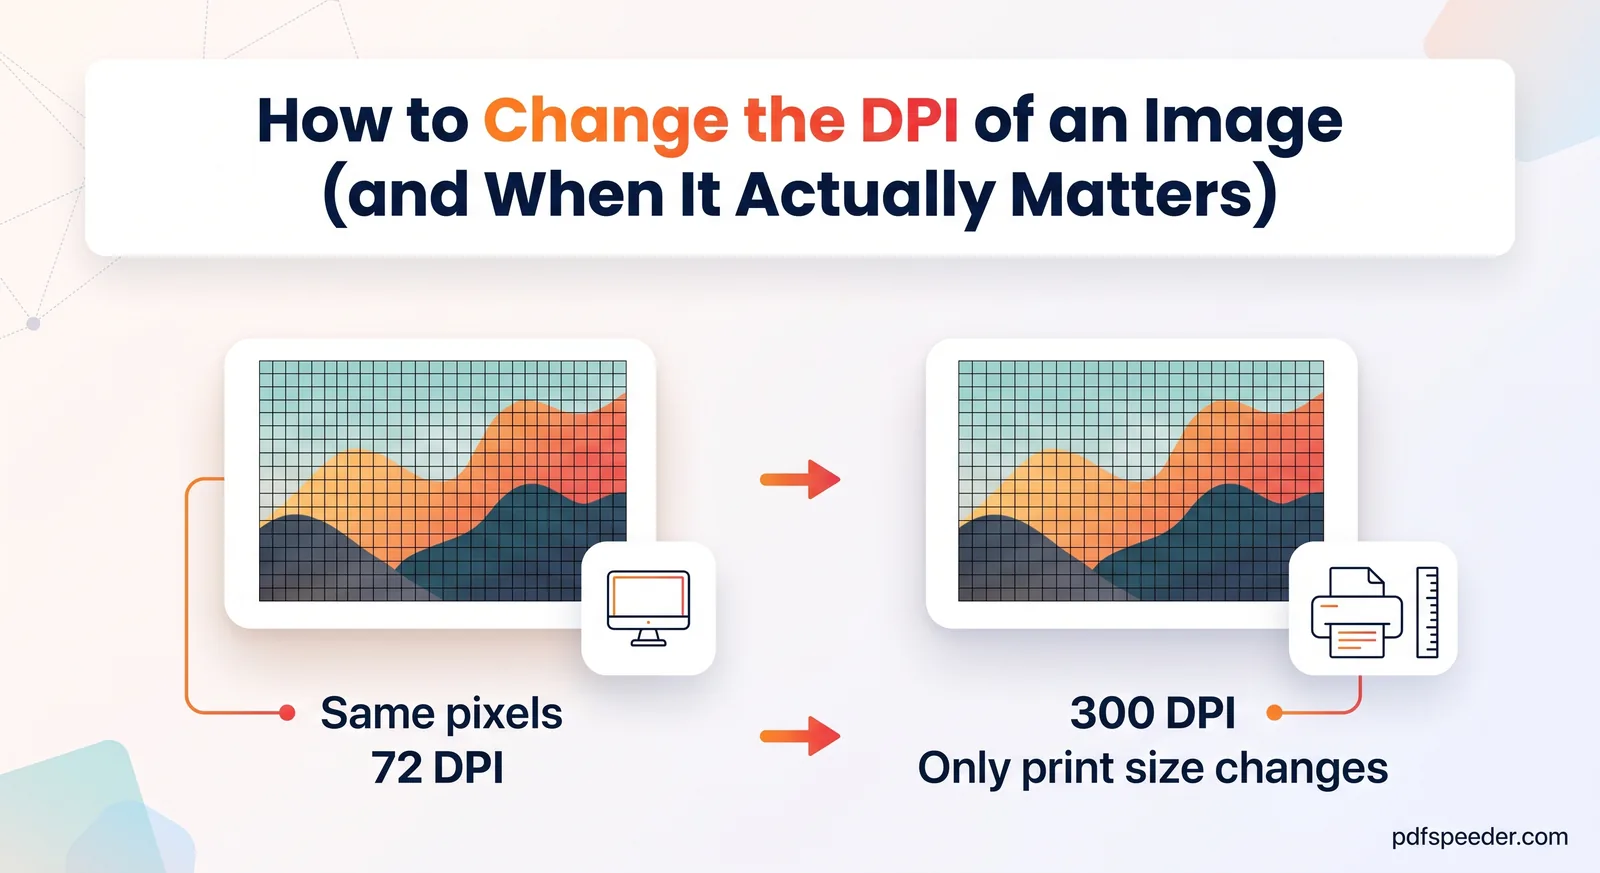
To change the DPI of an image, you change a resolution label stored in the file, not the picture itself: every pixel stays the same, and only the size a printer will use changes. Any photo editor with a resample-off option can do it, and so can our Image Resizer at 100% scale. If what you really need is a sharp print at 300 DPI, the question is whether the image has enough pixels for that print size, and the formula below tells you.
On this page
What DPI means in an image (and what it doesn't)
Every digital photo is a grid of pixels, say 1200 wide by 1800 tall. DPI, short for dots per inch, is a number saved alongside that grid that tells a printer how many of those pixels to fit into each inch of paper. Screens ignore it completely: a phone or a browser shows the same 1200 × 1800 pixels whether the file says 72 DPI or 300 DPI.
That's the short answer to what DPI is in images: a conversion from pixels to inches, used only for printing. It holds no detail of its own, so raising it can't make a photo sharper.
| Change only the DPI | Resample (change the pixels) | |
|---|---|---|
| Pixel dimensions | Unchanged | New width and height |
| Detail | Unchanged | Shrinking discards some; enlarging adds none |
| File size | Practically unchanged | Changes with the pixel count |
| Look on screen | Identical | Larger or smaller |
| Print size | Changes | Changes |
So a 1200 × 1800 image labelled 72 DPI asks to be printed at 16.7 × 25 inches, while the same pixels labelled 300 DPI ask for 4 × 6 inches. Same file, same detail; only the instruction is different.
DPI vs PPI
Strictly speaking, the number inside an image file is PPI, pixels per inch. DPI describes printers: how many dots of ink they lay down per inch, which is usually far more than the image's PPI, because a printer mixes each pixel's colour from many tiny dots. In everyday use, including most photo labs and application forms, "300 DPI" simply means 300 pixels per inch, and that's how this guide uses it.
The pixels, inches and DPI formula
pixels = inches × DPI
inches = pixels ÷ DPI
DPI    = pixels ÷ inches
in centimetres: pixels = cm ÷ 2.54 × DPI
Worked example: a 4 × 6 inch print at 300 DPI needs 4 × 300 = 1200 pixels across and 6 × 300 = 1800 pixels down, so 1200 × 1800 pixels. Turn the formula around and you can see how much paper a photo can cover. Here's a 12-megapixel phone photo of 4000 × 3000 pixels:
| Printed at | Print size of a 4000 × 3000 photo |
|---|---|
| 300 DPI | 13.3 × 10 in (33.9 × 25.4 cm) |
| 240 DPI | 16.7 × 12.5 in (42.3 × 31.8 cm) |
| 200 DPI | 20 × 15 in (50.8 × 38.1 cm) |
| 150 DPI | 26.7 × 20 in (67.7 × 50.8 cm) |
And going the other way, these are the pixels a few larger print sizes need:
| Print size | Pixels at 300 DPI | Pixels at 150 DPI |
|---|---|---|
| A5 (148 × 210 mm) | 1748 × 2480 | 874 × 1240 |
| 8 × 10 in | 2400 × 3000 | 1200 × 1500 |
| A3 (297 × 420 mm) | 3508 × 4961 | 1754 × 2480 |
| 12 × 18 in | 3600 × 5400 | 1800 × 2700 |
300 DPI is the usual target for prints held in the hand, such as photos, certificates and brochures. Posters seen from a few metres away are often printed at lower resolutions, so ask the print shop what it wants before you enlarge anything.
How to change the DPI of an image without changing the pixels
This is what most people mean when they look up how to convert an image to 300 DPI: a form or a print shop wants the file to say 300, and the pixel dimensions are already fine.
In your browser with the Image Resizer
- Open the Image Resizer and add your image: JPG, PNG, WebP, GIF, BMP or AVIF, up to 80 MB.
- Choose Scale % and leave it at 100%, so the pixel size stays exactly as it is.
- Type the value you need, such as 300, in Print DPI.
- Under Format, keep the original or choose JPG or PNG.
- Select Resize and download. The result line shows the dimensions and the DPI.
In a test on sample files, a 1600 × 1200 JPG came back at 1600 × 1200 with 300 DPI written into it, and a PNG came back pixel-for-pixel identical to the original, with only its resolution changed. Three things are worth knowing before you use it:
- The DPI is stored in JPG and PNG files only. WebP and AVIF output is saved without one, so pick JPG or PNG whenever the DPI matters.
- A JPG is saved again. The resizer always writes a new file, so a JPG goes through JPEG compression once more, at the Quality setting (92 by default). That's invisible for normal photos. Don't push it to 100: in the same test, quality 100 produced a file 2.3 times the size of the original without adding any detail. A PNG loses nothing.
- Metadata is removed. The new file carries no EXIF data, so the camera details, the date and any GPS location your phone recorded are gone. That's a privacy bonus, but keep the original if you need them.
The resizer runs entirely in your browser, so your image isn't uploaded, and it doesn't use any of the daily free tasks.
In Preview on a Mac, or another photo editor
Open the image in Preview, choose Tools > Adjust Size, untick Resample image and type the new value in Resolution. The width and height in inches adjust to match, and the pixel count stays put; Apple's guide to resizing images in Preview explains the Resample image option. Photoshop and most other photo editors have the same switch in their Image Size dialog, usually labelled Resample. Saving a JPG from any editor compresses it again, so keep the quality high.
Resize for a print size at 300 DPI
When the pixels don't match the print size, a new label isn't enough: the image needs a different number of pixels. Say you want an 8 × 10 inch print from that 4000 × 3000 photo, held upright as 3000 × 4000:
- Work out the pixels. 8 × 10 inches at 300 DPI is 2400 × 3000 pixels.
- Check the shape. 8 × 10 is a 4 : 5 shape and the photo is 3 : 4, so a little has to be cropped: keeping the full 3000-pixel width means trimming the height to 3750 before scaling down to 2400 × 3000.
- Resize. In the Image Resizer, choose Exact size, switch off the link between width and height, enter 2400 and 3000, and pick Crop to fill so nothing gets stretched. Set Print DPI to 300, choose JPG and select Resize.
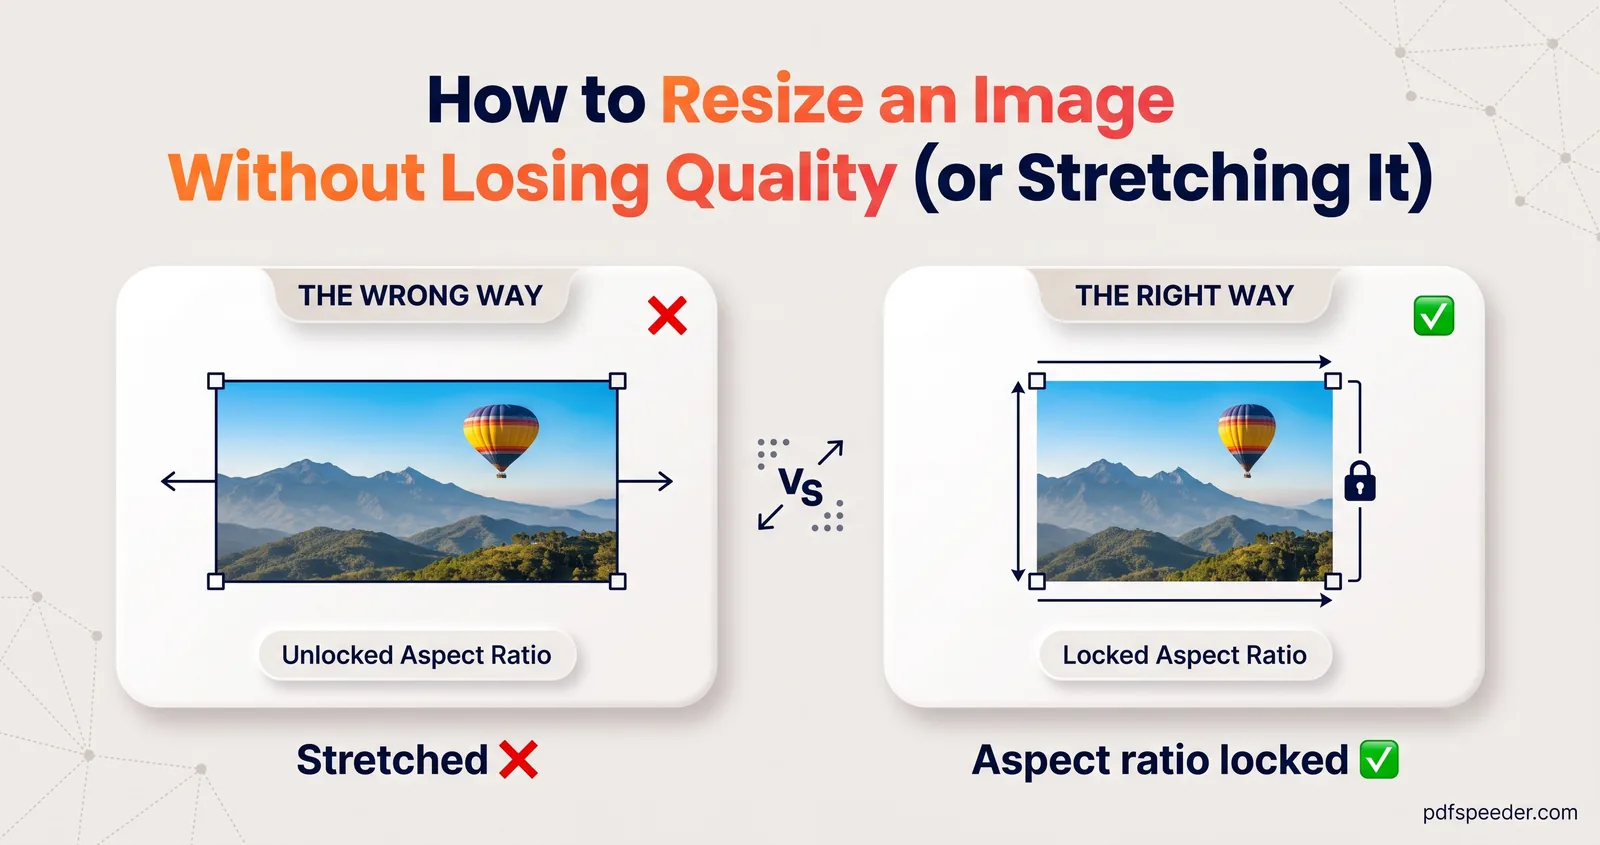
If a photo has fewer pixels than the print needs, you have three honest choices: print it smaller, accept a lower resolution (ask the lab what it accepts), or switch on Allow enlarging and accept that the same detail gets spread over more pixels. Our guide to resizing an image without losing quality explains why enlarging always softens a photo.
When a form or a printer asks for 300 DPI
- It also gives pixel dimensions. Those are what matter. Match them exactly, then set the DPI as well, since it costs nothing.
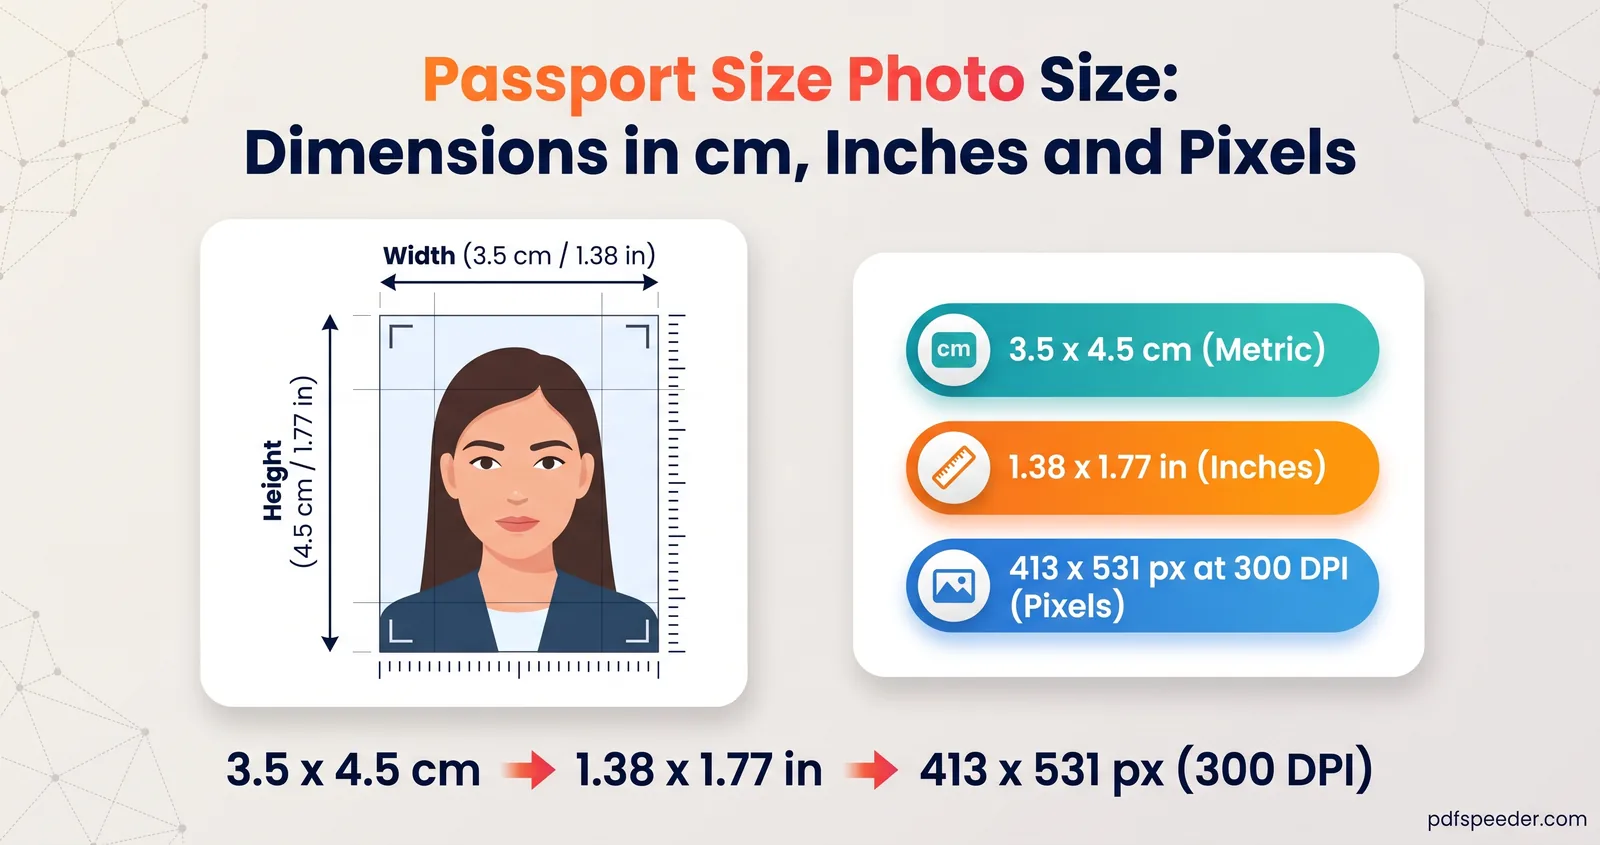
- It gives a print size and a DPI. Turn them into pixels with the formula: 35 × 45 mm at 300 DPI is 413 × 531 pixels. Our passport photo size guide lists the common photo specifications.
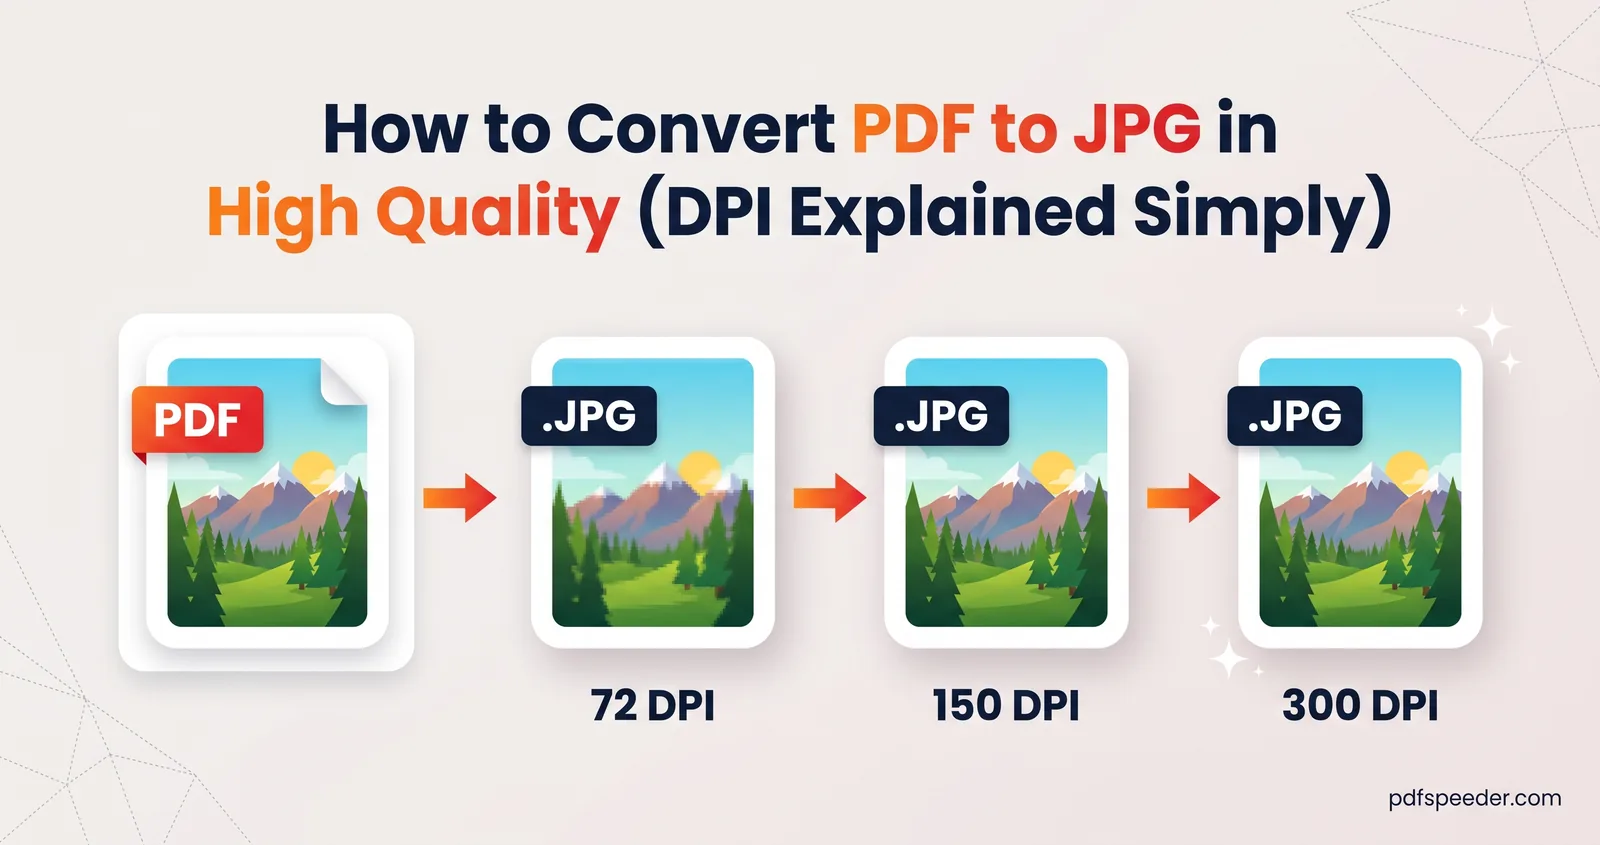
- It wants an image of a PDF page. PDF to JPG renders each page at the resolution you choose, from 72 to 600 DPI, so an A4 page at 300 DPI comes out at about 2480 × 3508 pixels. The JPGs it creates don't store a DPI value, though, so if the recipient checks it, run them through the Image Resizer at 100% with Print DPI set to 300.
PDF to JPG also runs in your browser and counts as one task in the free daily allowance: 2 tasks a day without an account, 3 with a free account, reset at 00:00 UTC. Our guide to converting PDF to JPG in high quality covers its other settings.
How to check an image's DPI on Windows and Mac
- Windows: right-click the file, choose Properties, open the Details tab and look under Image. You'll see the dimensions in pixels, plus Horizontal resolution and Vertical resolution in dpi.
- Mac: open the image in Preview and choose Tools > Show Inspector. The General Info tab lists the image's DPI and its size in pixels.
- No value stored? Many screenshots and images saved by web apps carry no DPI at all. Apps then display a default, commonly 72 or 96, which says nothing about the image's quality.
To check whether an image is detailed enough for a print, look past the label and divide the pixels by the inches instead: 2400 pixels across a 10-inch side is 240 DPI, whatever the file claims.
Next step: find the print size you need, multiply each side by 300, and if your image already has that many pixels, open the Image Resizer, keep Scale at 100% and type 300 in Print DPI.
Frequently asked questions
Does changing the DPI reduce image quality?
No. Changing only the DPI leaves every pixel exactly as it was. Quality changes only if the image is resampled, or if a JPG is saved again at a low quality setting.
How do I convert an image to 300 DPI?
If it already has enough pixels for your print size, change the label: in the Image Resizer, keep Scale at 100% and type 300 in Print DPI. If it doesn't, resize it to the print size in inches × 300 pixels first.
Is 72 DPI low quality?
Not by itself. A 4000 × 3000 photo labelled 72 DPI still holds 12 million pixels, enough for a sharp 13 × 10 inch print once it's relabelled to 300 DPI.
What's the difference between DPI and PPI?
PPI is pixels per inch, the number stored in an image file; DPI is the dots of ink a printer places per inch. Most people, and most forms, say DPI when they mean PPI.
How many pixels is 300 DPI?
It depends on the print size, because 300 DPI means 300 pixels for every inch. A 4 × 6 inch print needs 1200 × 1800 pixels, and an A4 page needs 2480 × 3508.